
The Making of Kinematics

Most of our projects start with a natural inspiration, but Kinematics emerged from a very different perspective. This project started with a technical problem: how can we create large objects quickly on a desktop 3D printer?
Motorola
Last May, Motorola’s Advanced Technology and Projects division invited us to their headquarters in Sunnyvale to discuss a potential collaboration. They wanted us to develop “aesthetic generators” that related to their new phone, the Moto X. The catch was that these apps needed to generate customized objects that could be 3D printed in under an hour on equipment that was being driven around the country in the MAKEwithMOTO van. Despite what you may have been told, 3D printing is not a particularly fast process. In fact, the more three dimensional an object is, the slower it prints. One hour is a very challenging print time to meet for an object of any significant size.
The question we asked ourselves was how could we create something that was nearly flat, but still took advantage of the new possibilities in 3D printing. Our solution was to print a flat design that could be folded into another shape after printing. What we ended up creating was a NFC-enable bracelet made of a foldable geometric pattern.
Physical Prototyping
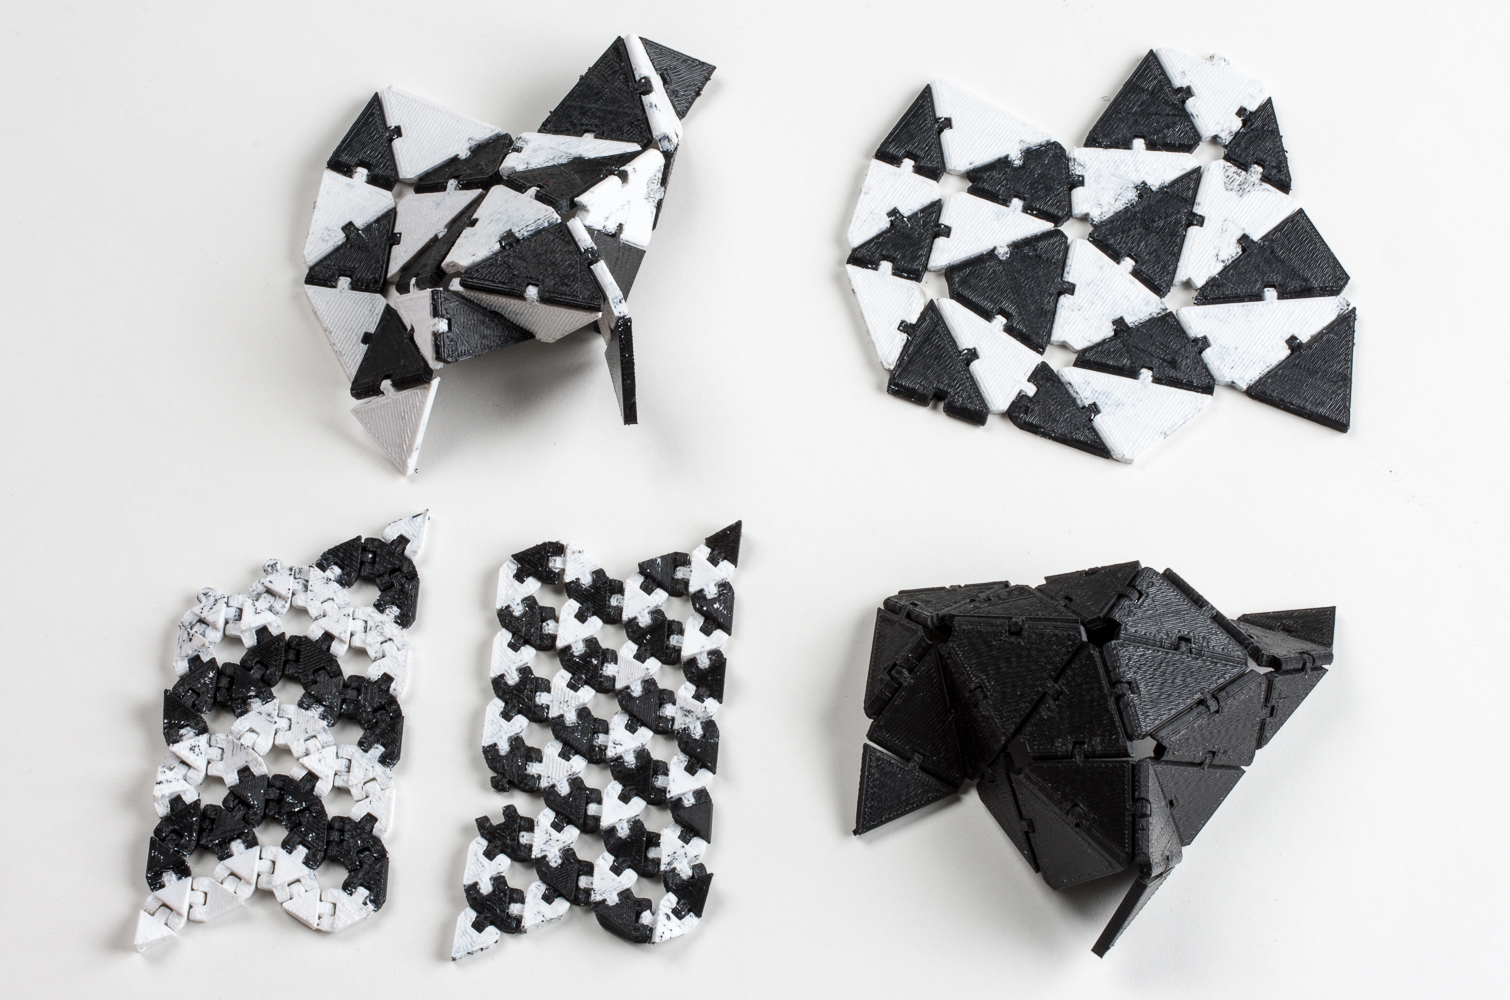
From the beginning, this project was focused on making the most of the limitations of low-cost 3D printers. Unlike most of our work, which occurs almost entirely digitally before we see a real object, this required extensive physical prototyping. We used our MakerBot Replicator (v1, dual extruder) throughout the prototyping period to develop and refine our concept.
Initially, we weren’t sure it was possible to design interlocking components that a desktop 3D printer could accurately reproduce while being small enough to comfortably wearable. But looking around the 3D printing community site Thingiverse, we found a diverse array of flexible structures all designed to be 3d-printed on low cost machines. Starting from there, we knew that it could be done.

We began by modelling a hinged joint mechanism based on a double-ended cone pin and socket. Cone-based geometry works well because, with the correct angle, it is self supporting, an essential quality for low-cost home printing. We spent a lot of time tweaking tolerances to get the hinge just right: tight enough to not fall apart but loose enough to not fuse together during printing. We kept refining the joint until it was as small as it could be and still print reliably.

With the joint designed, we started out printing simple chains of components. These basic configurations were already fun to play with, but we suspected they could be much more compelling. Taking origami tessellations as inspiration, we started making triangulated, foldable surfaces. Beginning with a regular tiling of equilateral triangles, we modeled the first assemblages entirely by hand. By using hinges to connect together small triangular panels, we were able to create a faceted, fabric-like material.

However, even modelling a simple, repetitive pattern is time consuming and difficult. Before we could continue, we needed to automate the generation of the hinge mechanisms on arbitrarily complex patterns. With that done, we could start to design tools that would let anyone morph and shape a pattern to create their own fabric-like creation. Early experiments also tried different ways we could style the modules or incorporate the multi-material extrusion available on newer desktop printers.


The results were compelling. Not only were were the pieces themselves addictive to play with, but it served as a case study in customization. Using the most inexpensive home printers, we could make complex, fully customized products in under an hour. However, as we worked on the project we realized the Kinematics system opened up a lot more possibilities.
Tessellation to Kinematics
Freed from these constraints, we were able to develop a version of the app that was much more open-ended, both in terms of the geometry and the experience. We designed a new hinge for our 3D printing method of choice, SLS. This allowed us to create larger pieces and modules with more complex shapes. We also completely changed how the pieces were designed. Instead of morphing a fixed tessellation, users can manipulate parametric curves to create various shapes that are tessellated on the fly. They can also dramatically adjust the density of triangles, making the results more varied and freeform.
The most exciting thing about switching from extrusion-based to powder-based printing was that we could now design objects that were not self supporting. Though kinematics was originally developed to print three dimensional objects flat, allowing objects to be anywhere in space opened up new possibilities. The fabric-like quality of the designs we were producing got us thinking about making larger three-dimensional wearables like dresses. We realized that Kinematics had broader implications for printing arbitrary objects. We can take any shape and transform it into a flexible structure. These structures can then be digitally folded into more compressed shapes enabling the construction of objects much larger than the 3D printer’s build volume.

Software Development
Kinematics is our first application that is written purely JavaScript. Our previous web apps evolved from work we had created in Processing and contained large portions facilitated by processing.js to transition to the web. This made for a messy development process. Kinematics was developed from the ground up to be a browser-based WebGL application, and the code does not rely on any frameworks.
The project makes use of two libraries. One is glMatrix, which we use in all our projects for vector and matrix operations. It is a simple and fast library that does one function and does it well. This is exactly the type of library I love to use: flexible enough to fit in any situation and not bloated with unnecessary functionality.
The other library we use is poly2tri, which produces constrained Delaunay triangulations. Kinematics requires well-shaped triangles inside of a designed boundary, so this is exactly the tool for the job. The JavaScript version is a port of the original C++ code. Unfortunately, I don’t think it is the most performant for modern Javascript, but I’m not going to make my own constrained Delaunay library, and poly2tri does the job.
We’ve also started internally developing modular code components which we can apply to other projects. glShader takes care of loading and processing of GLSL shader programs. It asynchronously loads external shader files and extracts all the attributes and uniforms from the shaders, providing helper functions to simplify working with WebGL.
The project uses a JavaScript NURBS library that we’re developing. This allowed us to design curves for the boundaries of the pieces in Rhino and then import them into Kinematics where users can interactively change them. We’re also expanding and refining tools we created before for loading and working with meshes in JavaScript
The simulation portion of the Kinematics project happens outside the browser. We use openFrameworks and BulletPhysics to perform the compression of Kinematics models. BulletPhysics is an open-source physics engine used primarily for rigid body mechanics in games. It is a powerful and fast tool for physics simulation, supporting constraints, collisions, forces, and even soft bodies. There is a browser-based port of Bullet that we are in the process of incorporating as well.

acknowledgements
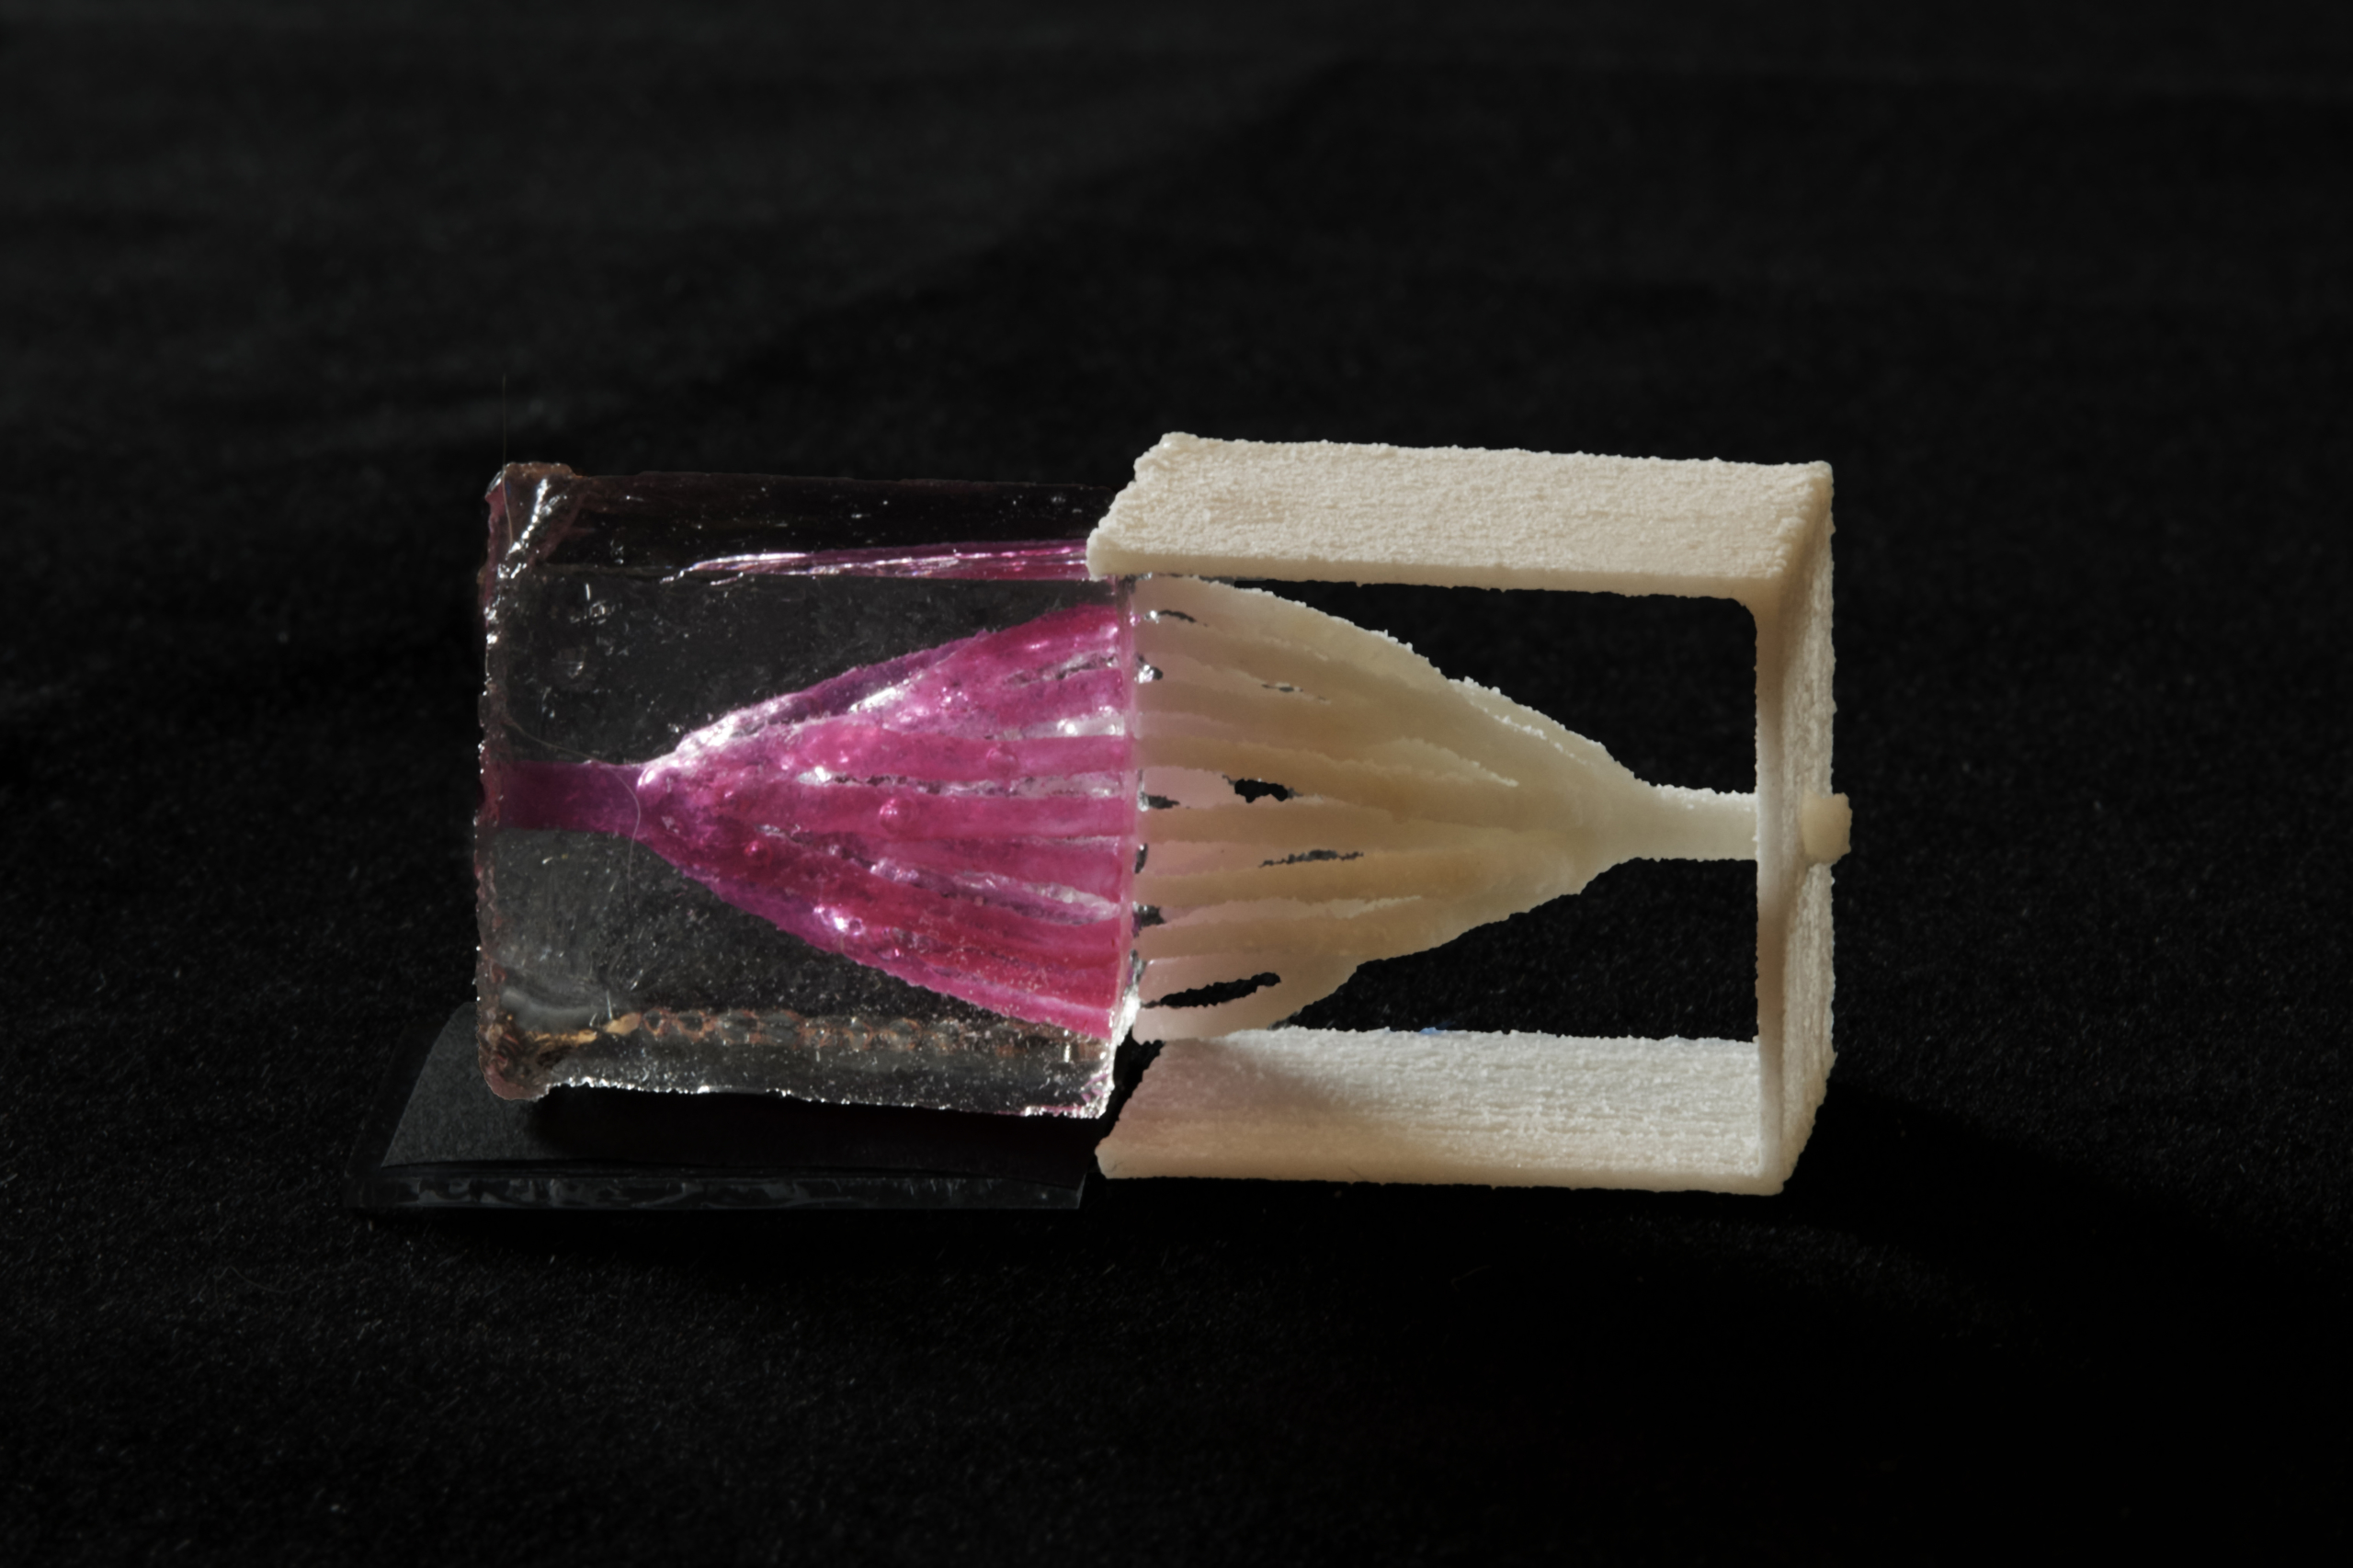
Special thanks to Motorola ATAP for getting us started down this road (especially Daniel, Andrew, and Paul). Thank you Thingiverse for inspiring us and Makerbot for giving us the printer we used for prototyping. And thank you to Artec 3d for proving the 3D scan we used to develop the concept dress.

Nervous System – explorations in generative design and natural phenomena » Blog Archive » Kinematics
[…] This project evolved out of a collaboration with Motorola’s Advanced Technology and Projects group which challenged us to create in-person customization experiences for low cost 3D printers. The genesis of the project is discussed at length in The Making of Kinematics. […]
Carolina
What is the best plastic to print the bracelet with? I tried printing last night and it was hard to bend and broke in a few places. It looked amazing before I tried bending. Should I be using nylon?
Jessica Rosenkrantz
hello Carolina, we’ve printed kinematics@home bracelets in ABS and PLA. My preference is for ABS. The results you get will depend a lot on your machine, slicing settings, speeds and temperatures. What are you using?