
We’re Starting a Patreon!
We’ve decided to start a Patreon, where you can get a subscription to… well us! It seems long overdue to have some way…
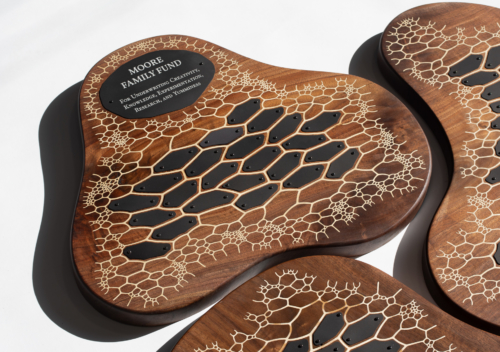
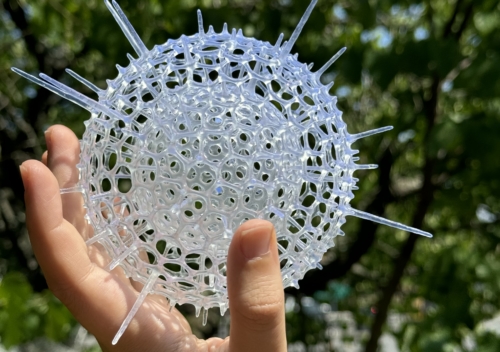
We recently created a set of sculptural award plaques for a new fund at The Frank-Ratchye STUDIO for Creative Inquiry at Carnegie Mellon…
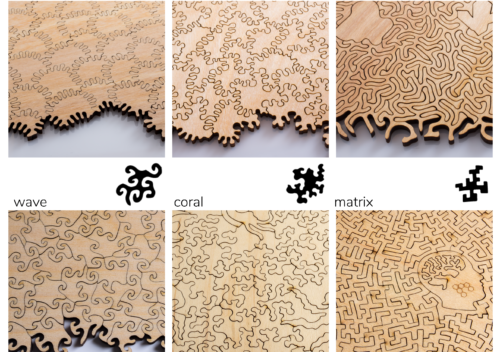
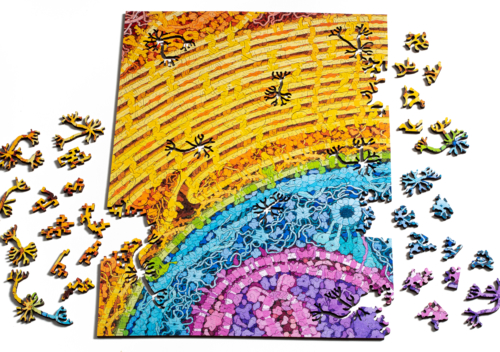
Nervous System’s wooden jigsaw puzzles feature unique nature-inspired piece shapes. Learn more about our cut styles below: Dendrite, Amoeba, Maze, Wave, Coral and…
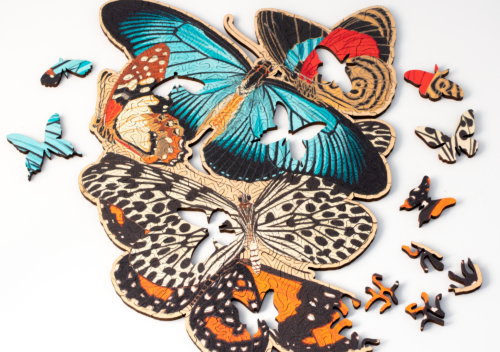
Today we are launching three new wooden puzzles bursting with butterflies! These puzzles feature the artwork of Emile-Allain Séguy, a French artist known…
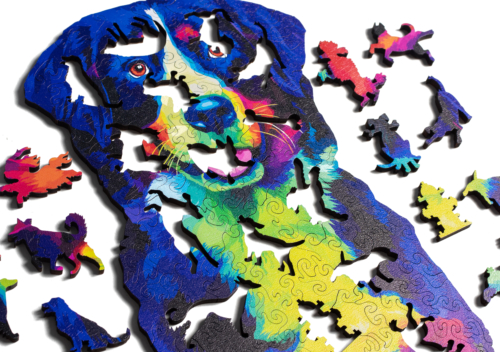
It’s been 4 years since we released the Herding Cats Puzzle, the first puzzle we ever released from our new studio in the…
We’ve decided to start a Patreon, where you can get a subscription to… well us! It seems long overdue to have some way…
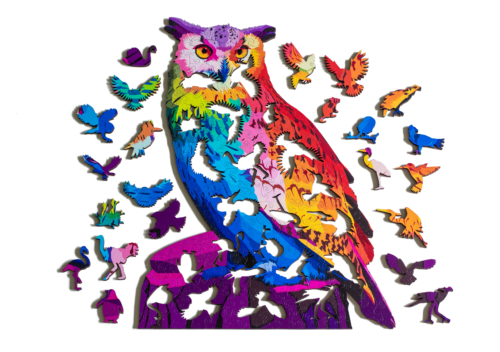
Hoo’s ready for a puzzling adventure? A Hoot of Many Colors is a vibrant wooden jigsaw puzzle featuring a Great Horned Owl, with…
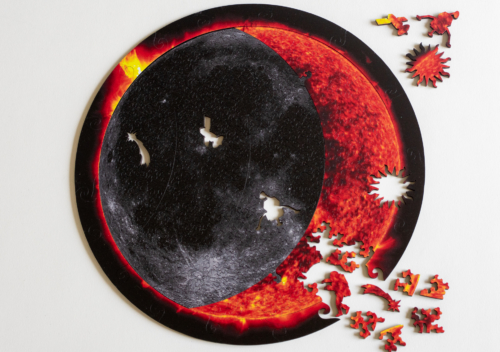
Celebrate the celestial marvel of a total solar eclipse with Nervous System’s Eclipse Puzzle. One side of the puzzle features the sun and…
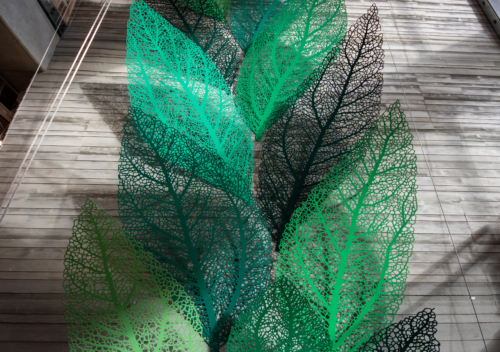
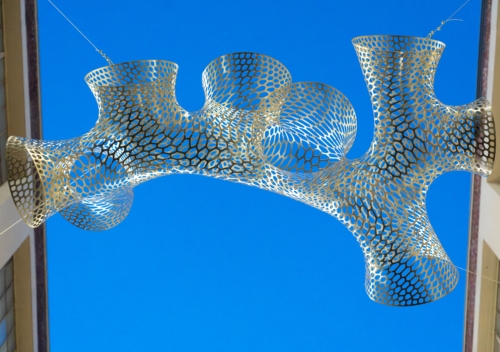
We recently created our first large scale public artwork. Soaring to a height of 120′, Xylem Arbor is an aggregation of bent metal…
Two new biology themed puzzles from Nervous System! They feature the incredible artwork of scientist/artist David S. Goodsell, whose intricate, vibrant watercolor paintings…
In the end of January, we traveled to MIT to teach a workshop for undergraduates hosted by MIT’s Morningside Academy for Design (MAD).…