Artist in Residency: Sage Jenson (mxsage)
Hi, I’m Sage Jenson and I was recently artist-in-residence at Nervous System. As part of my work, I create GPU-based simulations inspired by natural phenomena, from slime mold to snow. Jesse, Jessica and the team at Nervous System helped me translate my digital simulations into physical objects through 3D-printing, metal casting and traditional 2D-printing. Creating these objects pushed the technical boundaries of my work towards more responsive and detailed simulations. This blog post details my experiences at the residency.
“They can provide us tremendous information at scales of space and time where experimental visualization is difficult or impossible” (Vaucorbeil et al., 2019)
Ever since I began making computational images (~2013), I have been exploring agent-based simulation (what is a sheep-dog but a particle?). My first experiments used a physics library in Processing, with around 25 interconnected particles (Hooke’s law, dynamic topology) to move sounds around in 3D space. Soon I began to do non-realtime simulation in Cinema4D with the XParticles plugin (~2015) with around two million particles. I remember my frustration at not being able to achieve a satisfactory motion blur in these simulations. Shortly thereafter I began to research photogrammetry and realtime GPU particle systems in a professional context. My 45-minute audiovisual work Shadowbox drew heavily on a scan I made of a hornets nest, optically undulating and refocusing by dynamically moving around ten million particles (~2017).

With this many particles, individual points can become invisible leaving only aggregate densities (think a sand dune or thunderhead). Often it is more computationally efficient to view the particles via a probabilistic, continuous representation (grid) to avoid expensive particle-particle interactions. My adaptation of Jeff Jones’s physarum polycephalum model falls into this category. Particles leave a trail on the grid (think image with pixels), which the other particles then sense to inform movement in a tight feedback loop.
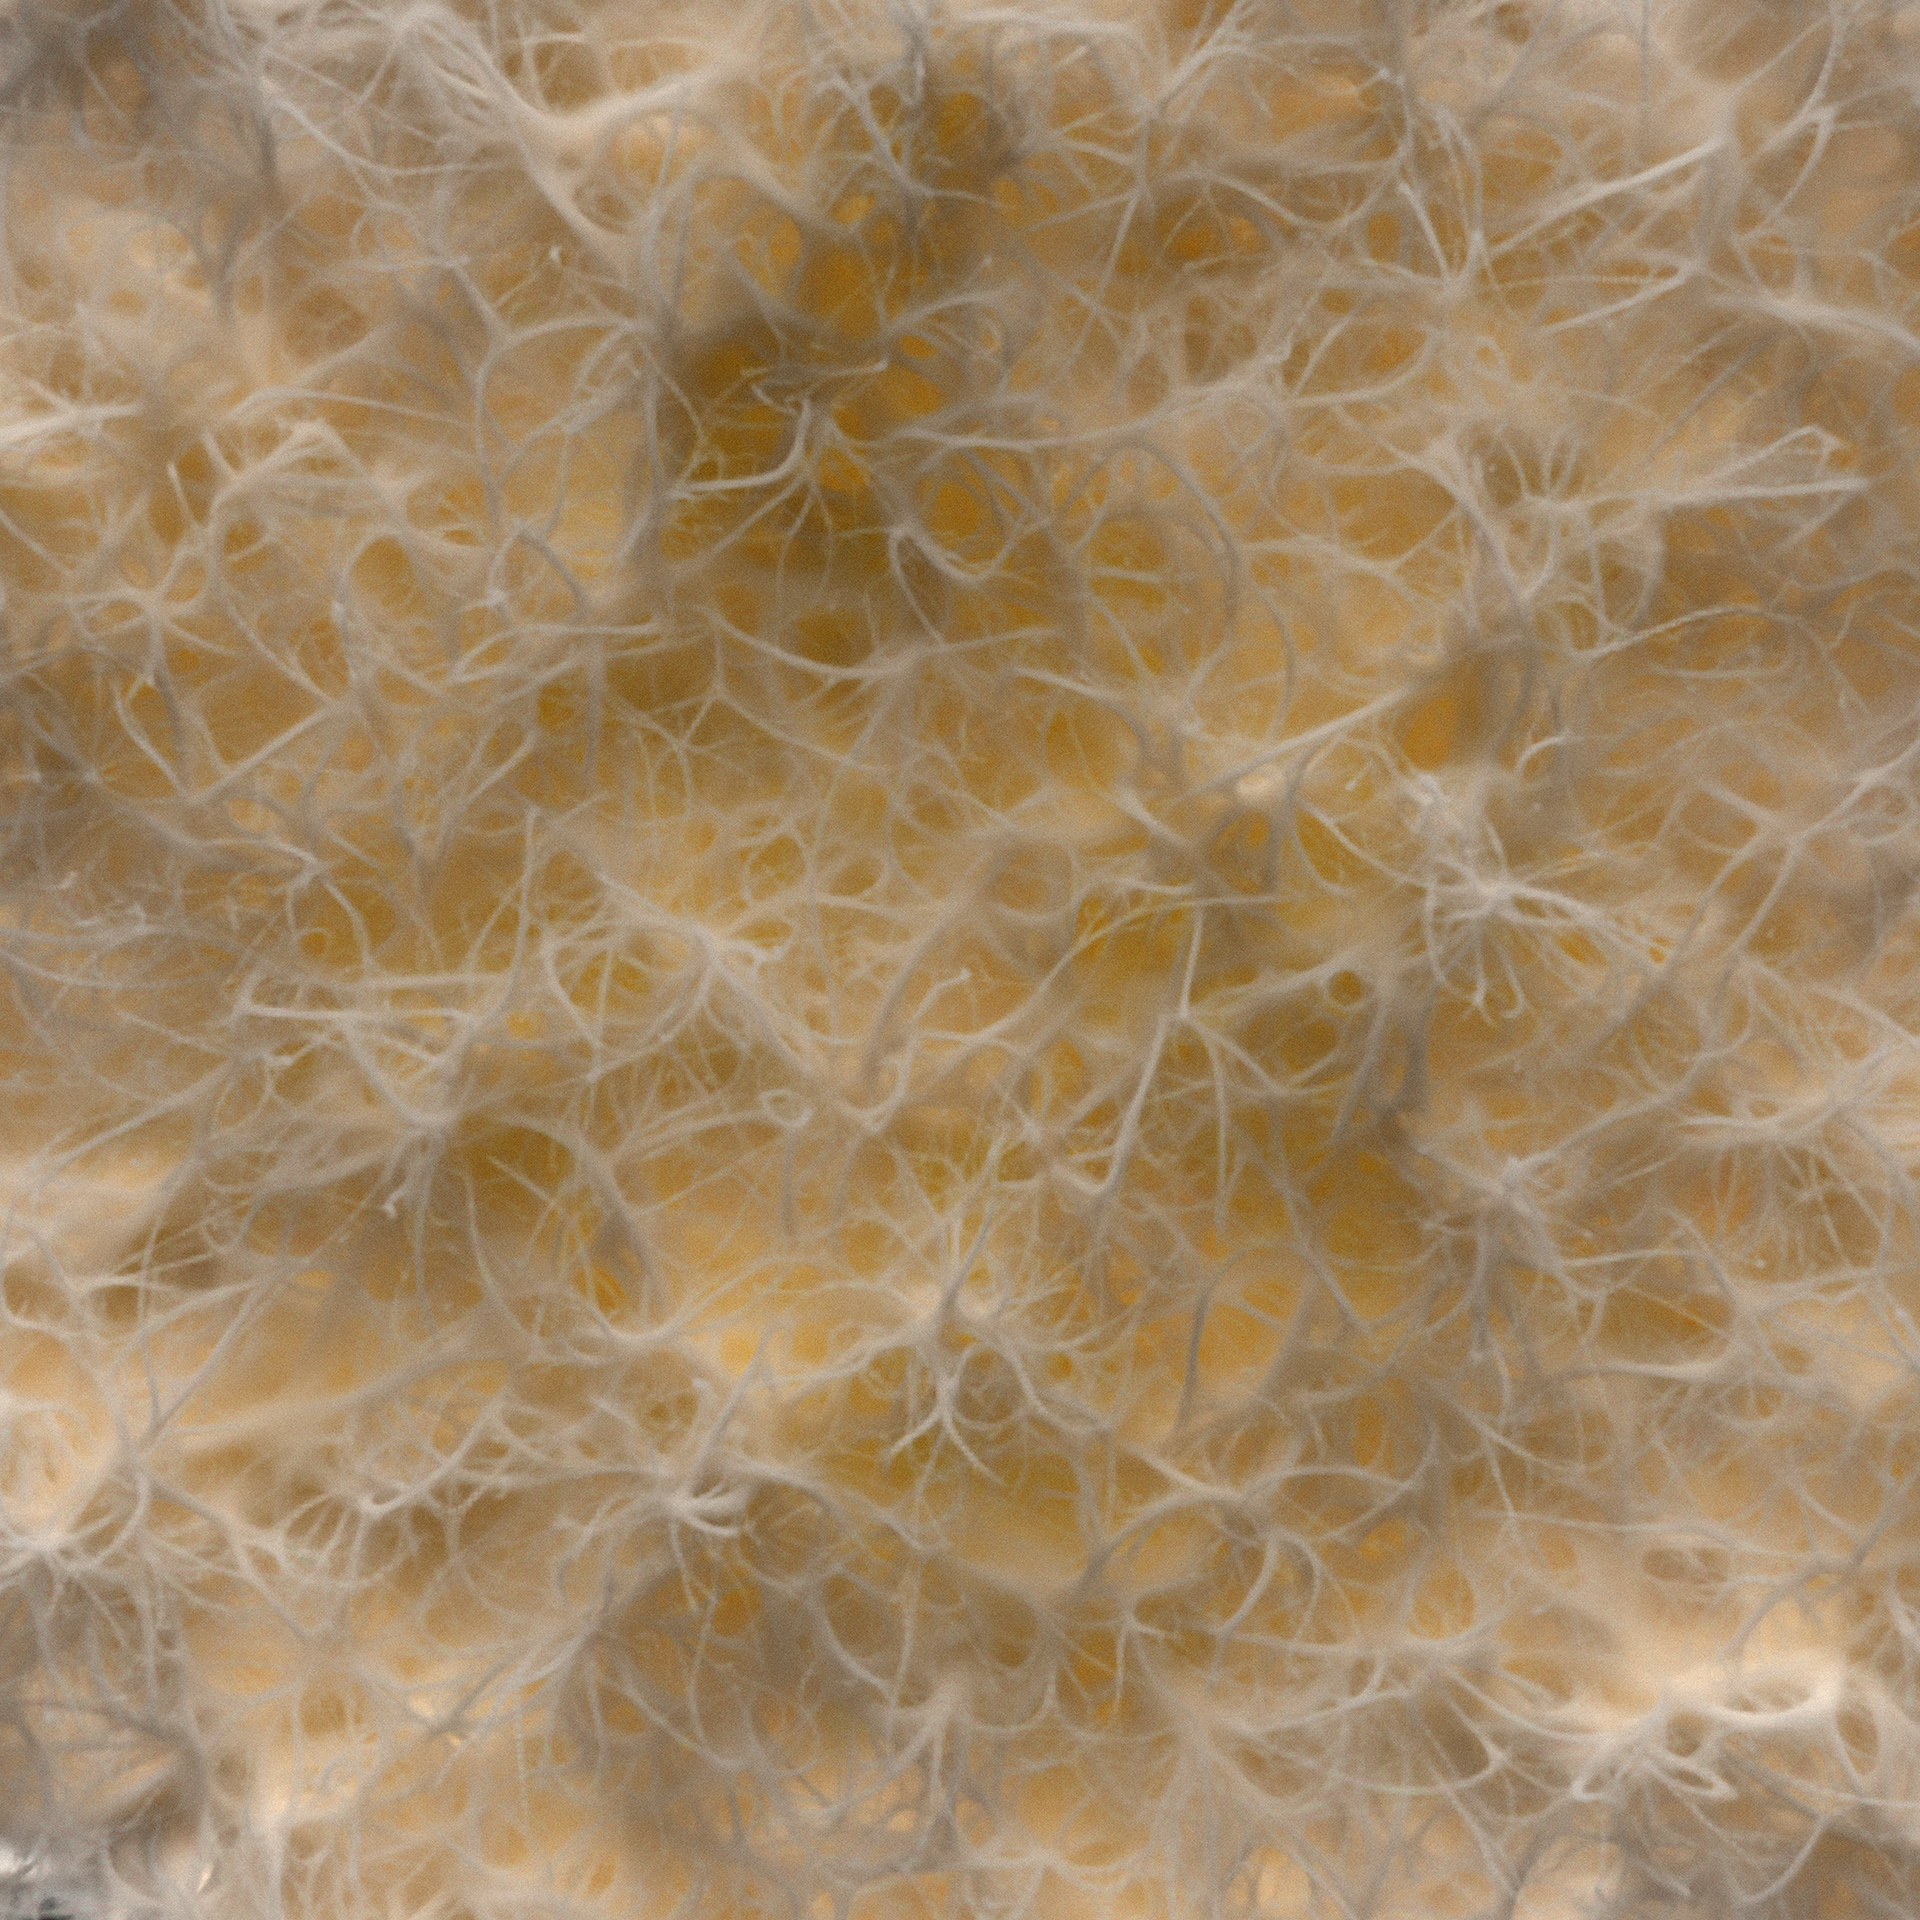
When working with 2D particle systems of this scale, it is often enough to visualize the particles themselves to produce a final image. However, in 3D the intricate network structures are often not legible without additional attention paid to rendering. One would have to use nearly a billion particles to achieve the same particle-to-cell population as the 2D case. Therefore for visualization, I thought of the particles as themselves representing a small chunk of volume, and moved back to a grid-based representation for the final visualization. Concepts like transmittance (Beer’s law) link the discrete and continuous representation by describing the probability of collision of a ray through a medium with a specified particle density. This forms the basis of the (relatively conceptually simple) path tracer that I implemented to visualize the grid.
Conceptually, I shoot a ray out from the camera in the direction of a specific pixel. As the ray meets denser regions, the probability that the ray scatters (changes direction) is proportional to the density of the region, as described by Beer’s law. After the path eventually bounces out of the volume, we check if that path hits a light, and filter the light’s color back through the path to the camera. While this is a quite naive approach, for my highly specified use case I was able to render images much faster than with production renders like Arnold / Redshift / Octane / Mantra. Granted, a lot of this advantage was because of data management on the GPU, and not implementing a comprehensive, production grade renderer, but for this use case the minimal brute-force method proved to be a viable option for generating 8k+ images.
256 (sample / pixel) * (8640 * 8640) px * max 1024 steps / sample ~= 19.5 trillion texture reads per image.
Addendum: MPM
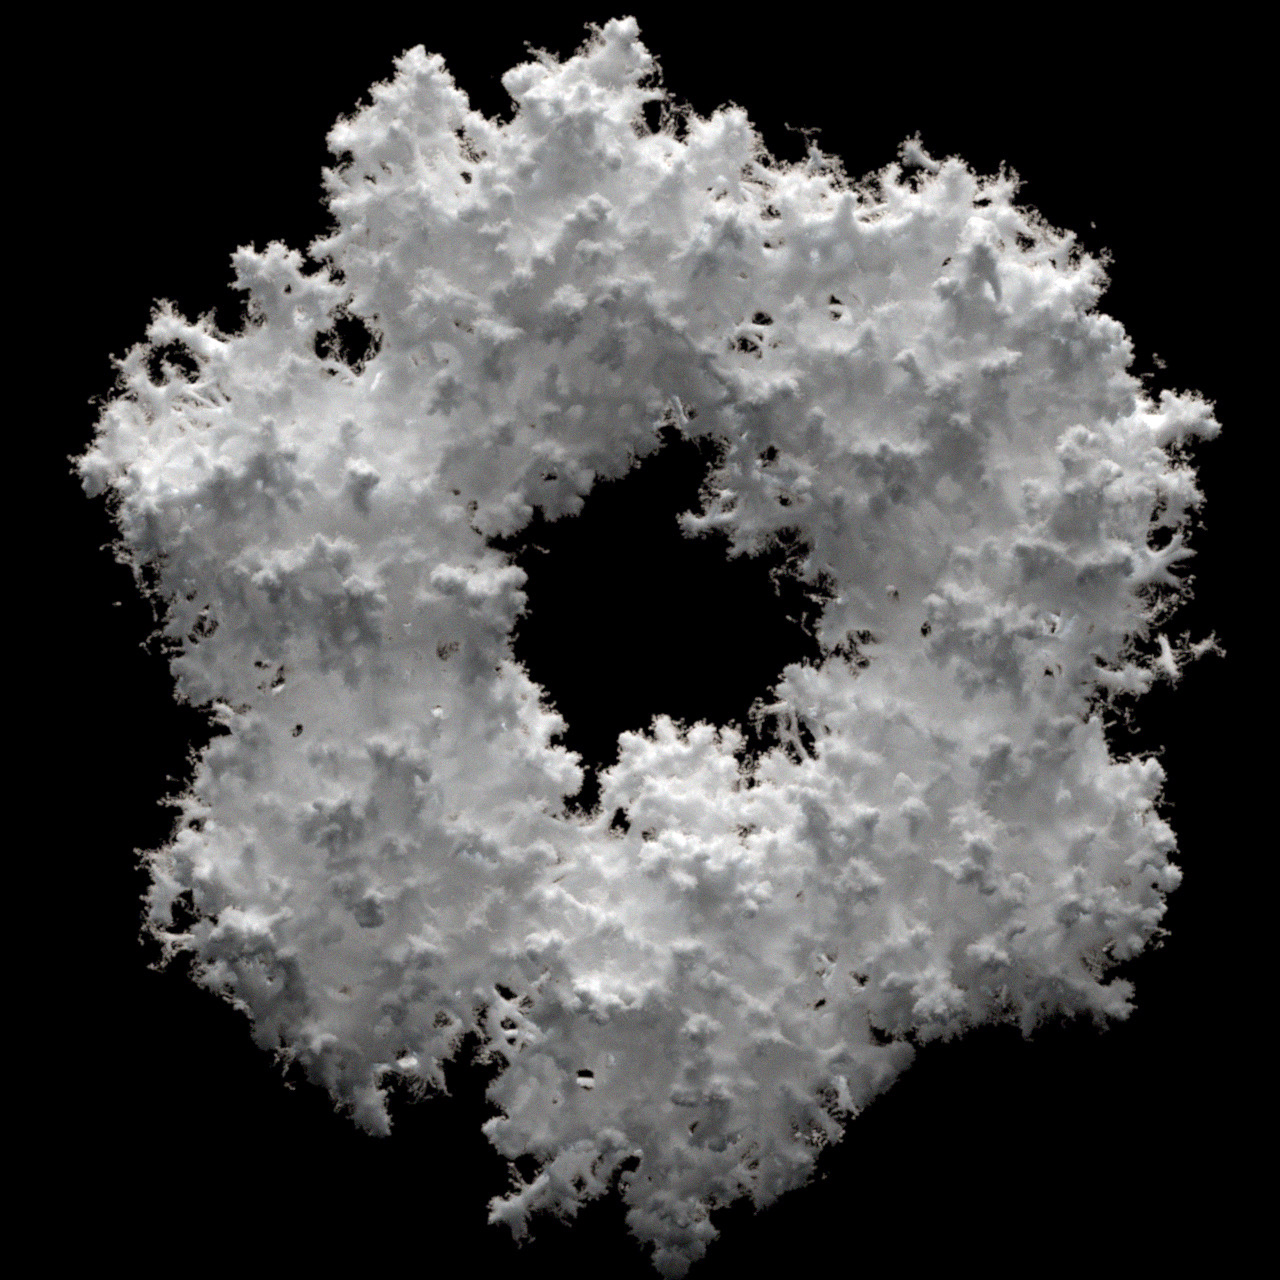
There are a large class of computational models that fall into a similar category, unifying a Lagrangian (particle) and Eulerian (grid) approach, formally called Material Point Method (MPM). It was originally developed to solve continuum mechanics problems as an alternative to costly mesh-based methods (e.g. the finite element method). In meshless-methods like MPM, discrete particle representation leads to straightforward treatment of large deformation and contact. Such techniques recently became quite popular in the computer graphics world after they were used to simulate plausible snow in Frozen (2013). Realtime applications of MPM are just beginning to be realized with modern hardware.
——————–
WEEK 1: ORIENTATION
I spent three weeks in April as the (second ever!) artist-in-residence at Nervous System. My time was split between fabrication / cooking / coding with Jesse / identifying fungi with Jessica / noodling on piano with Xyla / exploring the surrounding foothills.


I came to the residency without a concrete project in mind, open to following several research threads– ranging from a focus mainly on fabrication and object production, to a generative print series, to larger-scale sculptural work. Initially, the residency was focused more on fabrication, seeing as Nervous System has many specialized tools for creating computational sculptural forms. Between the laser cutting / bronze and glass casting / formlabs printing / 2D printing, etc, I was eager to dive in.
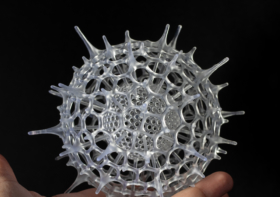
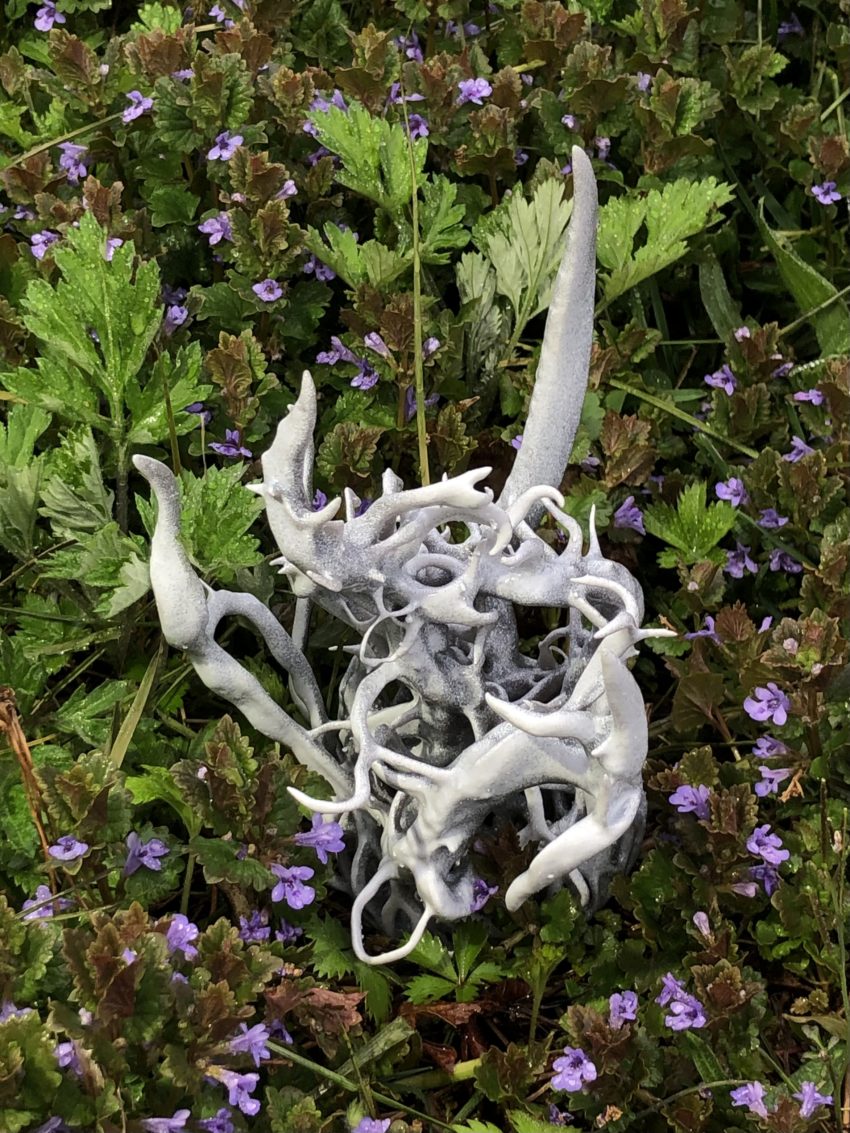
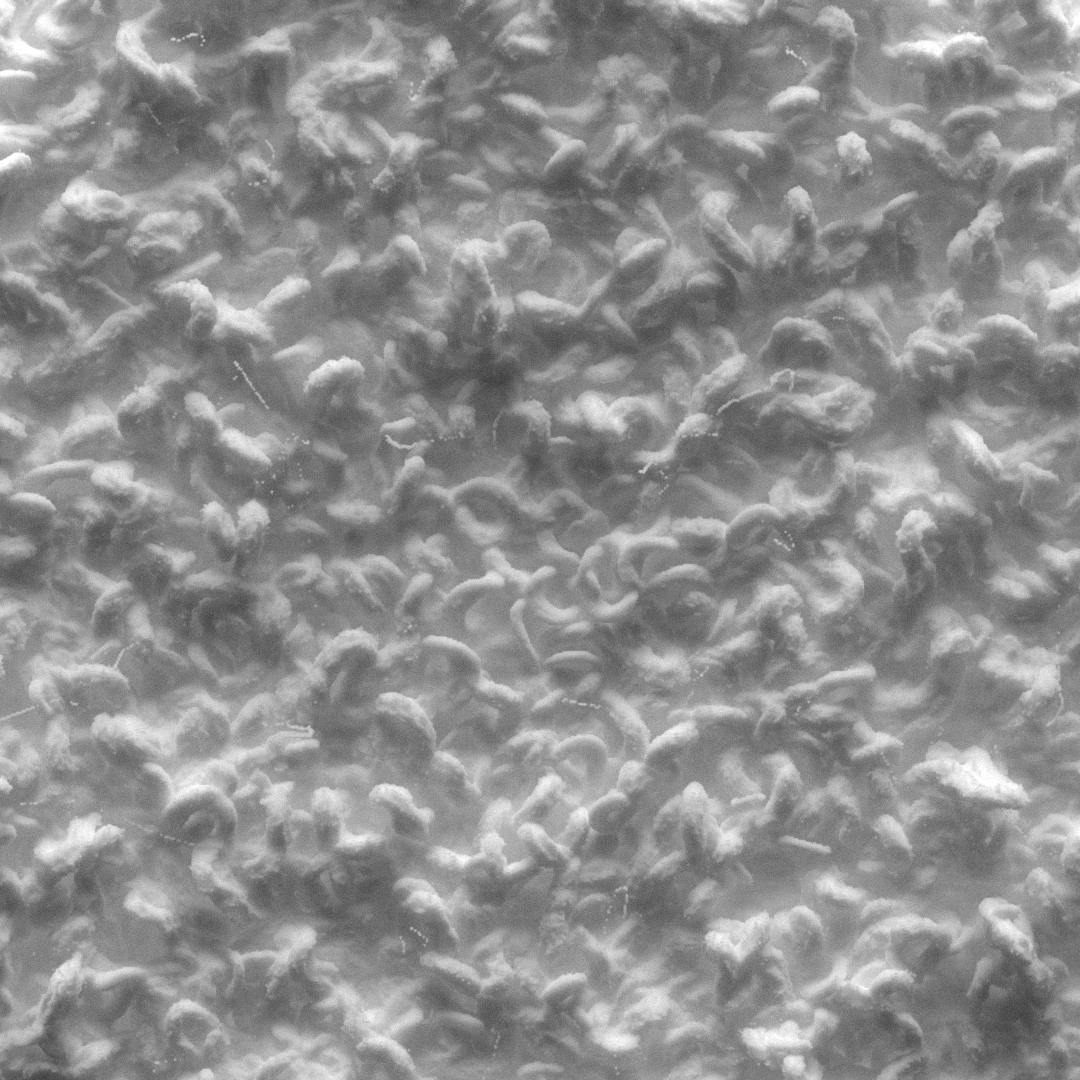
The first week I tried a lot of different things. I repurposed some old Houdini sketches to generate 3D forms. The algorithm was a guided, 3D hybrid particle-grid simulation (“3D Physarum”), which ran around 2-3 seconds / simulation tick. I created some forms including the pictured networked columns (a.k.a. candlestick) via bronze casting. This involved 3D printing the forms in a meltable wax resin on a Formlabs printer, creating a plaster negative cast, pouring in the red-hot bronze, and removing the plaster form the finished model. Each of these steps involved a lot of precision, and had high potential for failure. Even in the preparation to print the model on the Formlabs, I used a tool Jesse created to print-proof the shape, removing islands and ensuring other geometric constraints were met.


Bronze casting with the knowledgeable Jules.
In the process of sculpting/simulating these first few forms, it became clear that there was great potential in this technique. However, both the simulation and the visualization could be improved significantly, leading to the technical aspects of the process of creation fading into the background.
WEEK 2: FOCUS
Two seconds a simulation tick may not seem like a lot, but it severely limited the rate of feedback when tuning parameters of the simulation (which may take 100-200 ticks, ~5 minutes). This rate of feedback is one of the most important parts of my workflow, because as an artist that relies on visual feedback, this rate is effectively my speed of thought. One thought every 5 minutes is way too slow.
I wasn’t convinced it would be worth the effort to rebuild the simulation in a more performant way, after all a 1080^3 volume contains over a billion voxels. In spite of my skepticism, Jesse catalyzed the rewrite by quickly writing out the bones of the simulation engine in C++ and CUDA. I had some experience with CUDA from when I was an undergrad, but it had been a few years since I had written any kernels. Jesse (and Jules, one of the six employees at Nervous System) helped me set up my development environment on Windows. There were a few things that made the entire setup of a project like this, which is usually the place where I get stuck, manageable. One was vcpkg, a package manager that handled compilation of libraries with many dependencies like OpenVDB and could easily integrate with Visual Studio. (The other was a tool that I can’t believe I hadn’t used before, the Everything app to easily search the file system in a reasonable time.)
In a lot of ways, writing with CUDA is much simpler than OpenGL (especially if you are comfortable in C++). One doesn’t have to deal with the graphics pipeline, weird and rigid memory management system. CUDA was much better suited for our task. Once things were up and running with the development environment and compilation, the actual algorithmic work went quickly.
WEEK 3: CREATION
The last week I was in residence, output ramped up significantly. I used the VDB data format to store the density-grid output of the simulations, in the end I saved around 700-800 separate geometries. From that set, I settled on approximately ten experiments to fabricate in resin or bronze.


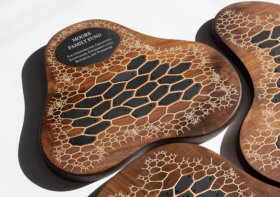
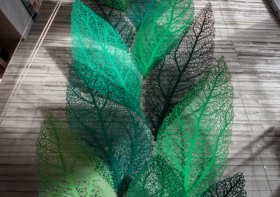
Fabrication in bronze or resin requires converting the density grid (with a rich interior structure) to a surface (SDF), where a point is either inside or outside the mesh. Often this didn’t match the structure of the simulation that I was interested in, a central quality of “softness” was lost. Therefore I turned to 2D image making (rendering) to realize the forms. I was still polishing the look and pipeline for these renders when the residency concluded. The last night we ate pizza that Jesse made in the new homebuilt earthen oven.
I would also like to send a very special thank you to Sage Vousé for their support in the last few days of the residency!