Corollaria jewelry collection
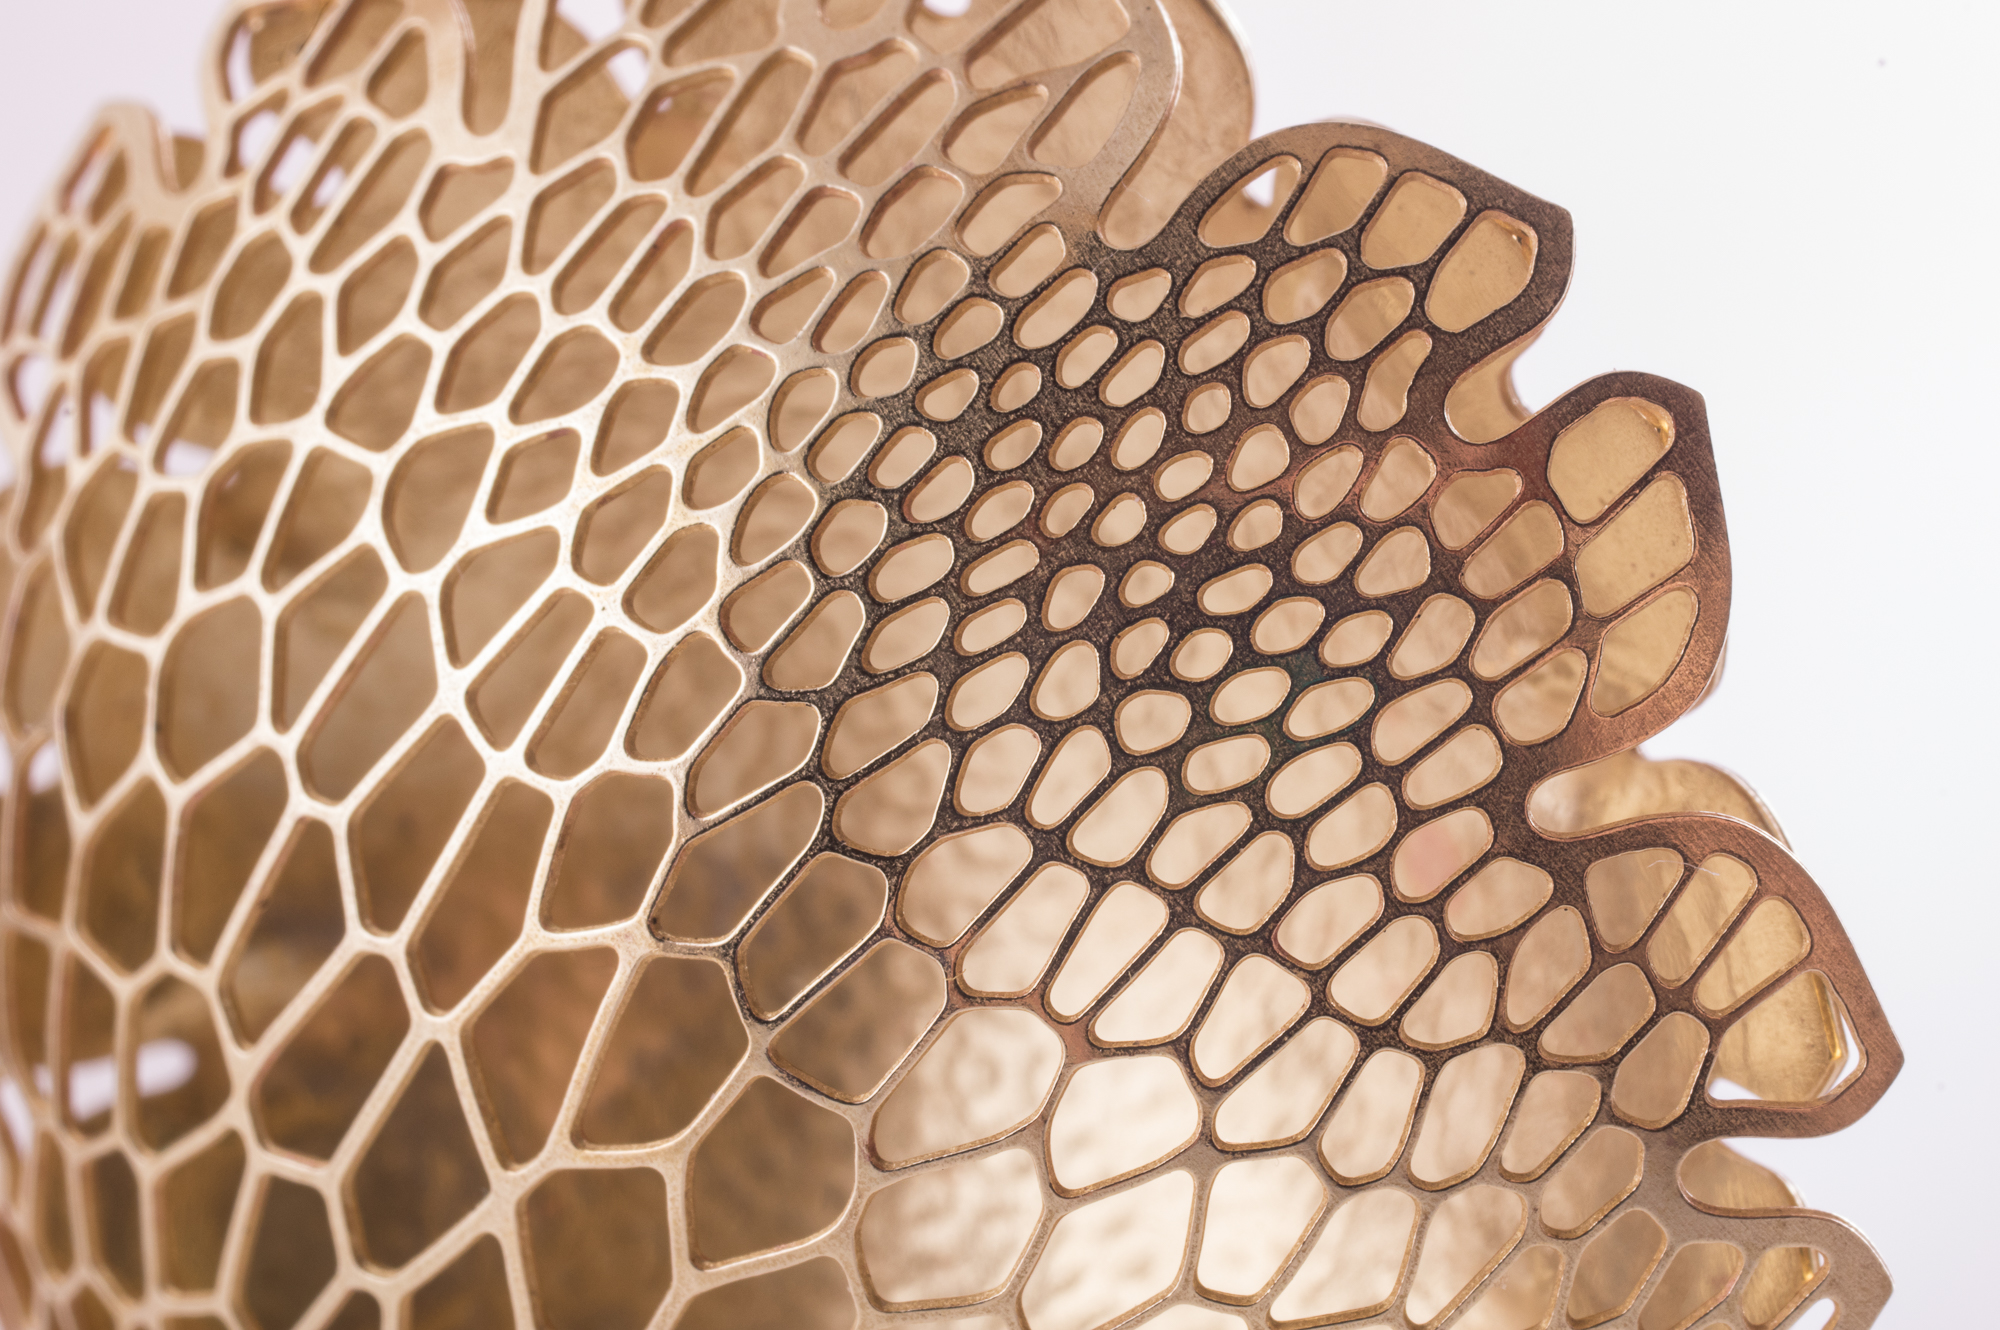
Corollaria is an algorithmic jewelry collection by Nervous System, composed of intricate lattice structures in brass and rubber. It is the spiritual successor to Radiolaria, the very first jewelry collection we created 10 years ago, before we even called ourselves Nervous System. This new collection explores many of the same themes of algorithmic design, cellular patterns, and digital fabrication, but also introduces new ideas, techniques, and materials.
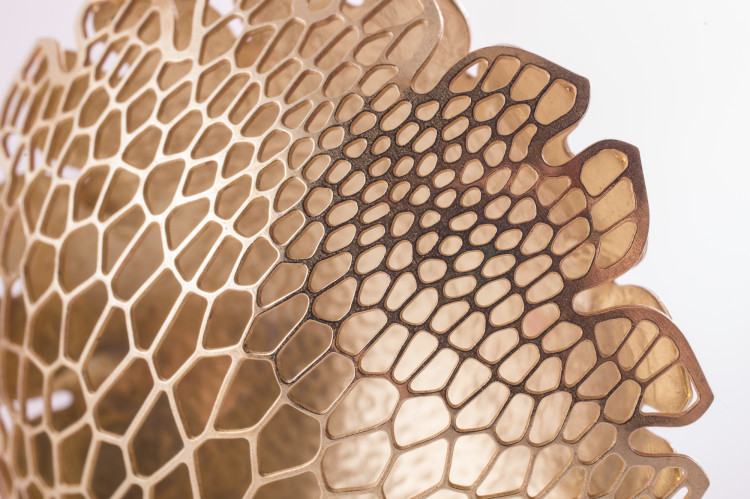
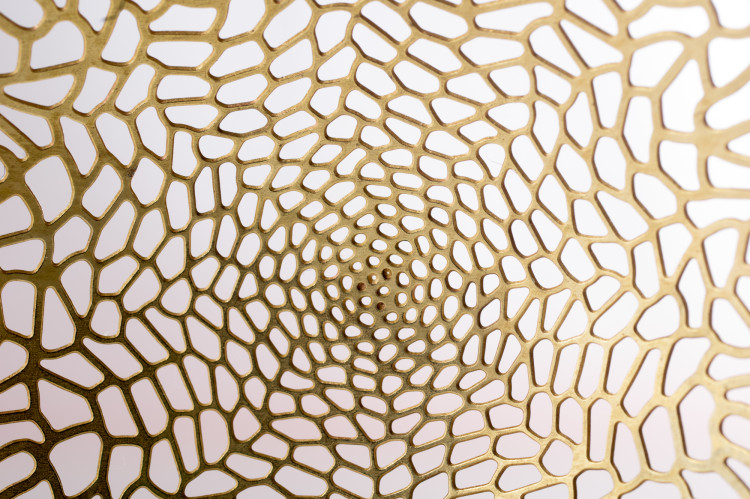
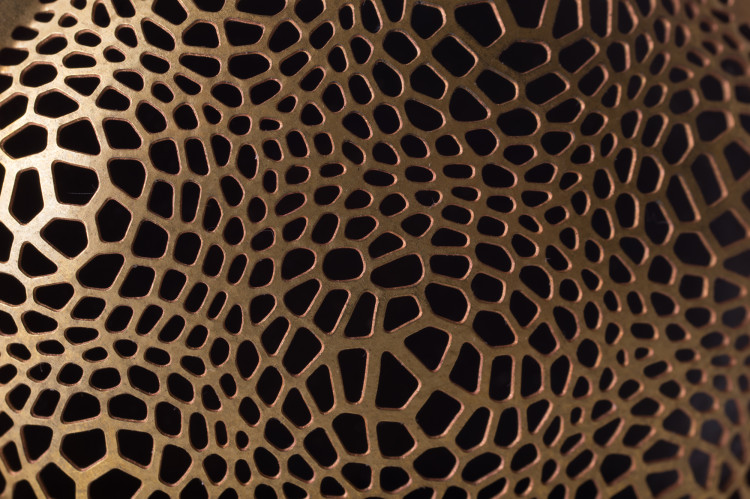
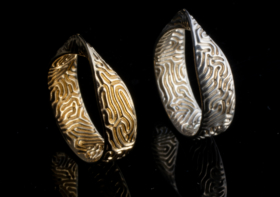
Inspired by biological systems, Corollaria plays with adaptive patterns that respond to environmental conditions. Multi-scale structures suggest the organization of cells into tissues, and cells change in size and direction to define piece boundaries. To generate these complex differentiated structures, we use an anisotropic centroidal Voronoi algorithm that follows fields of density and direction.
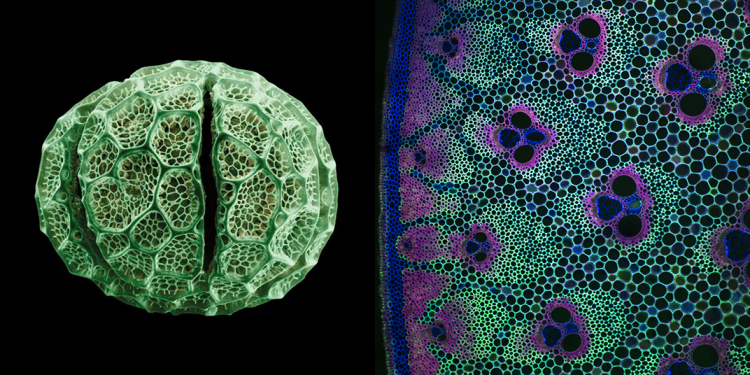
Right: Bambusa cross section by Jim Haselhoff, University of Cambridge (more images here)
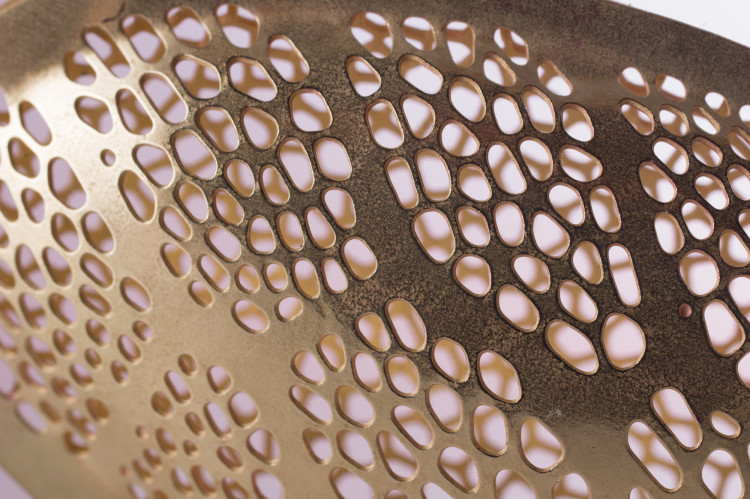
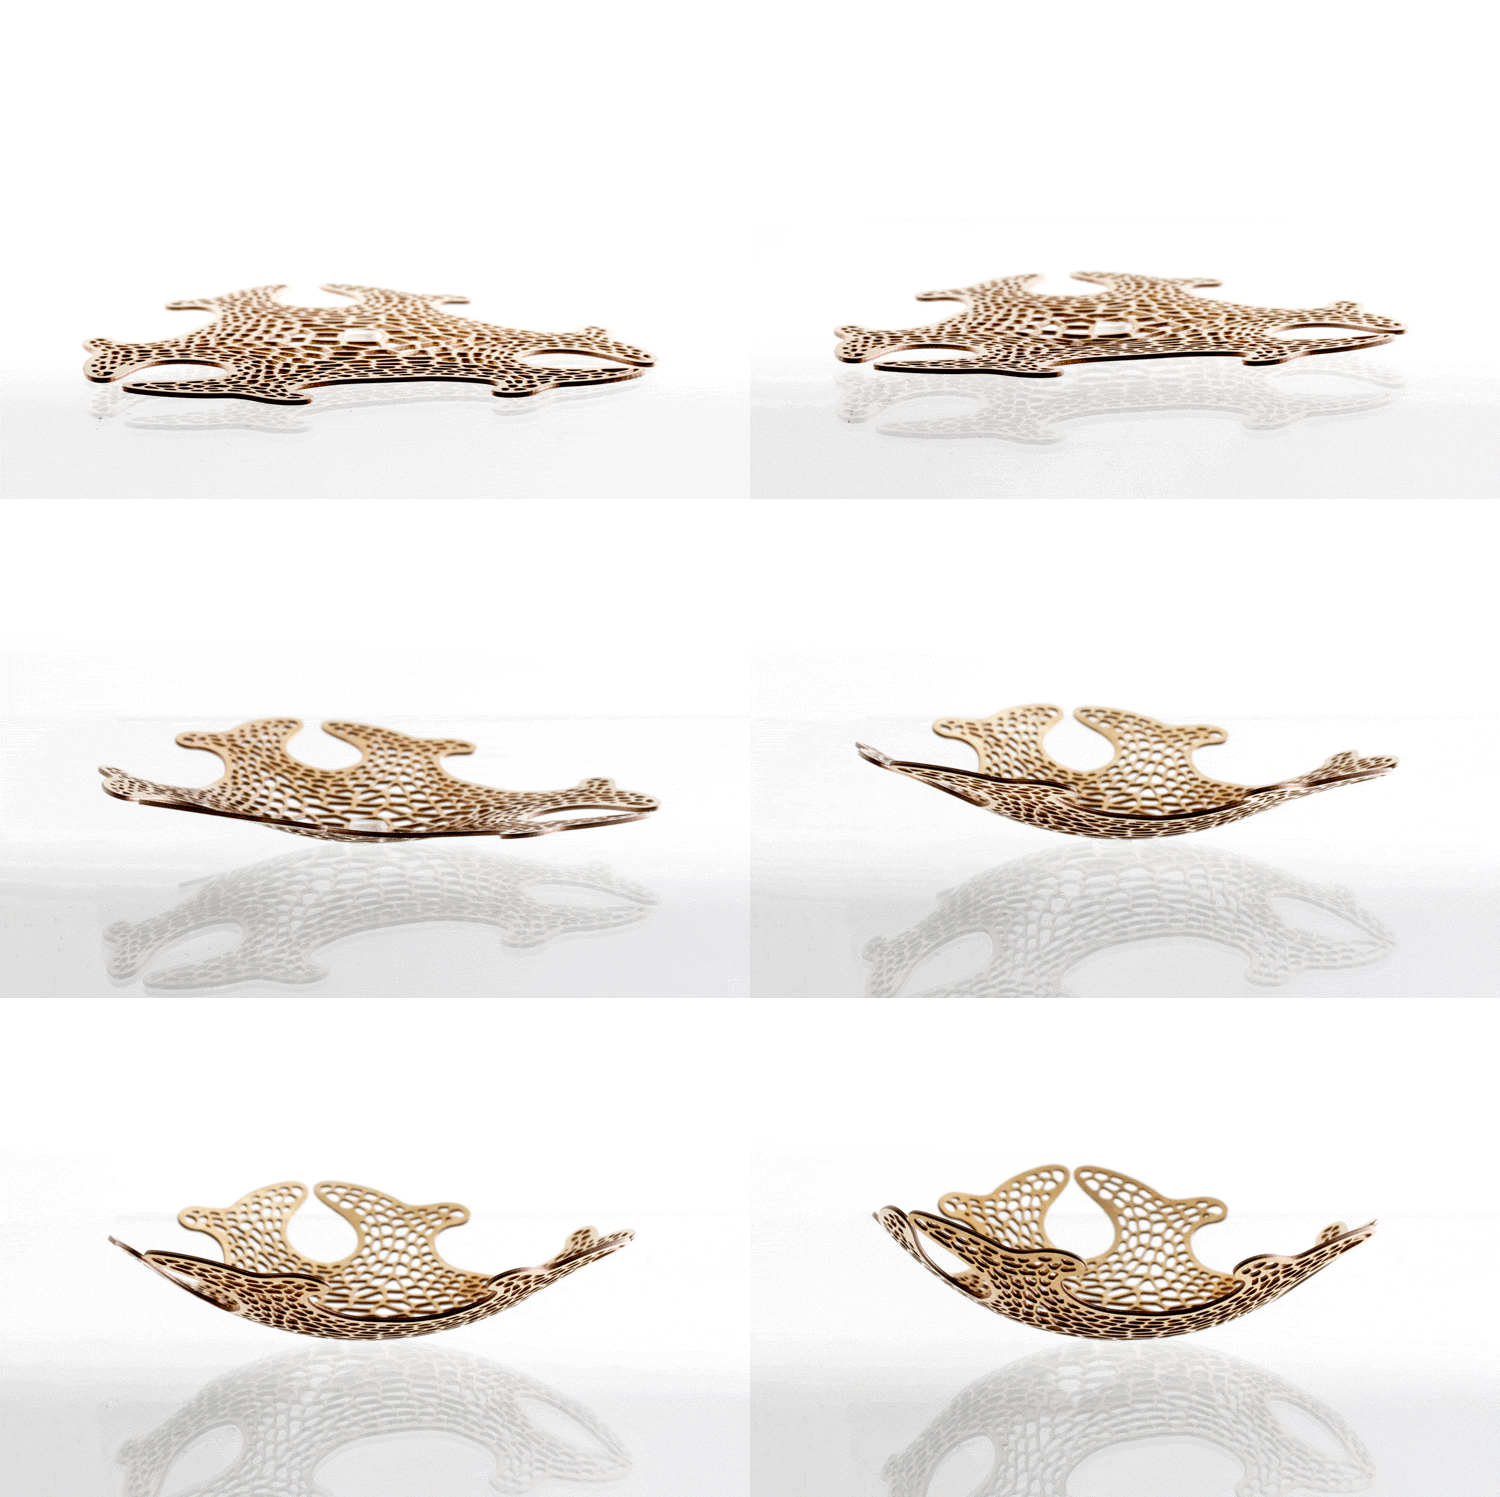
The collection fuses new technologies and old. Algorithmically generated designs are etched from brass sheets and shaped into 3D forms in a hydraulic press. Forming the pieces into domed shapes gives our flat patterns new dimensionality, referencing both natural forms like pollen and traditional metal filigree.
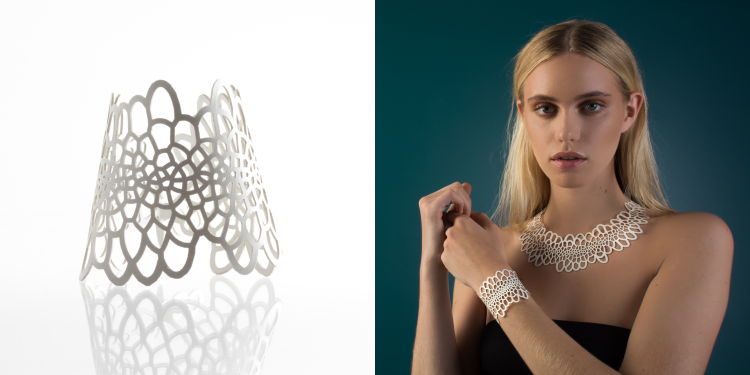
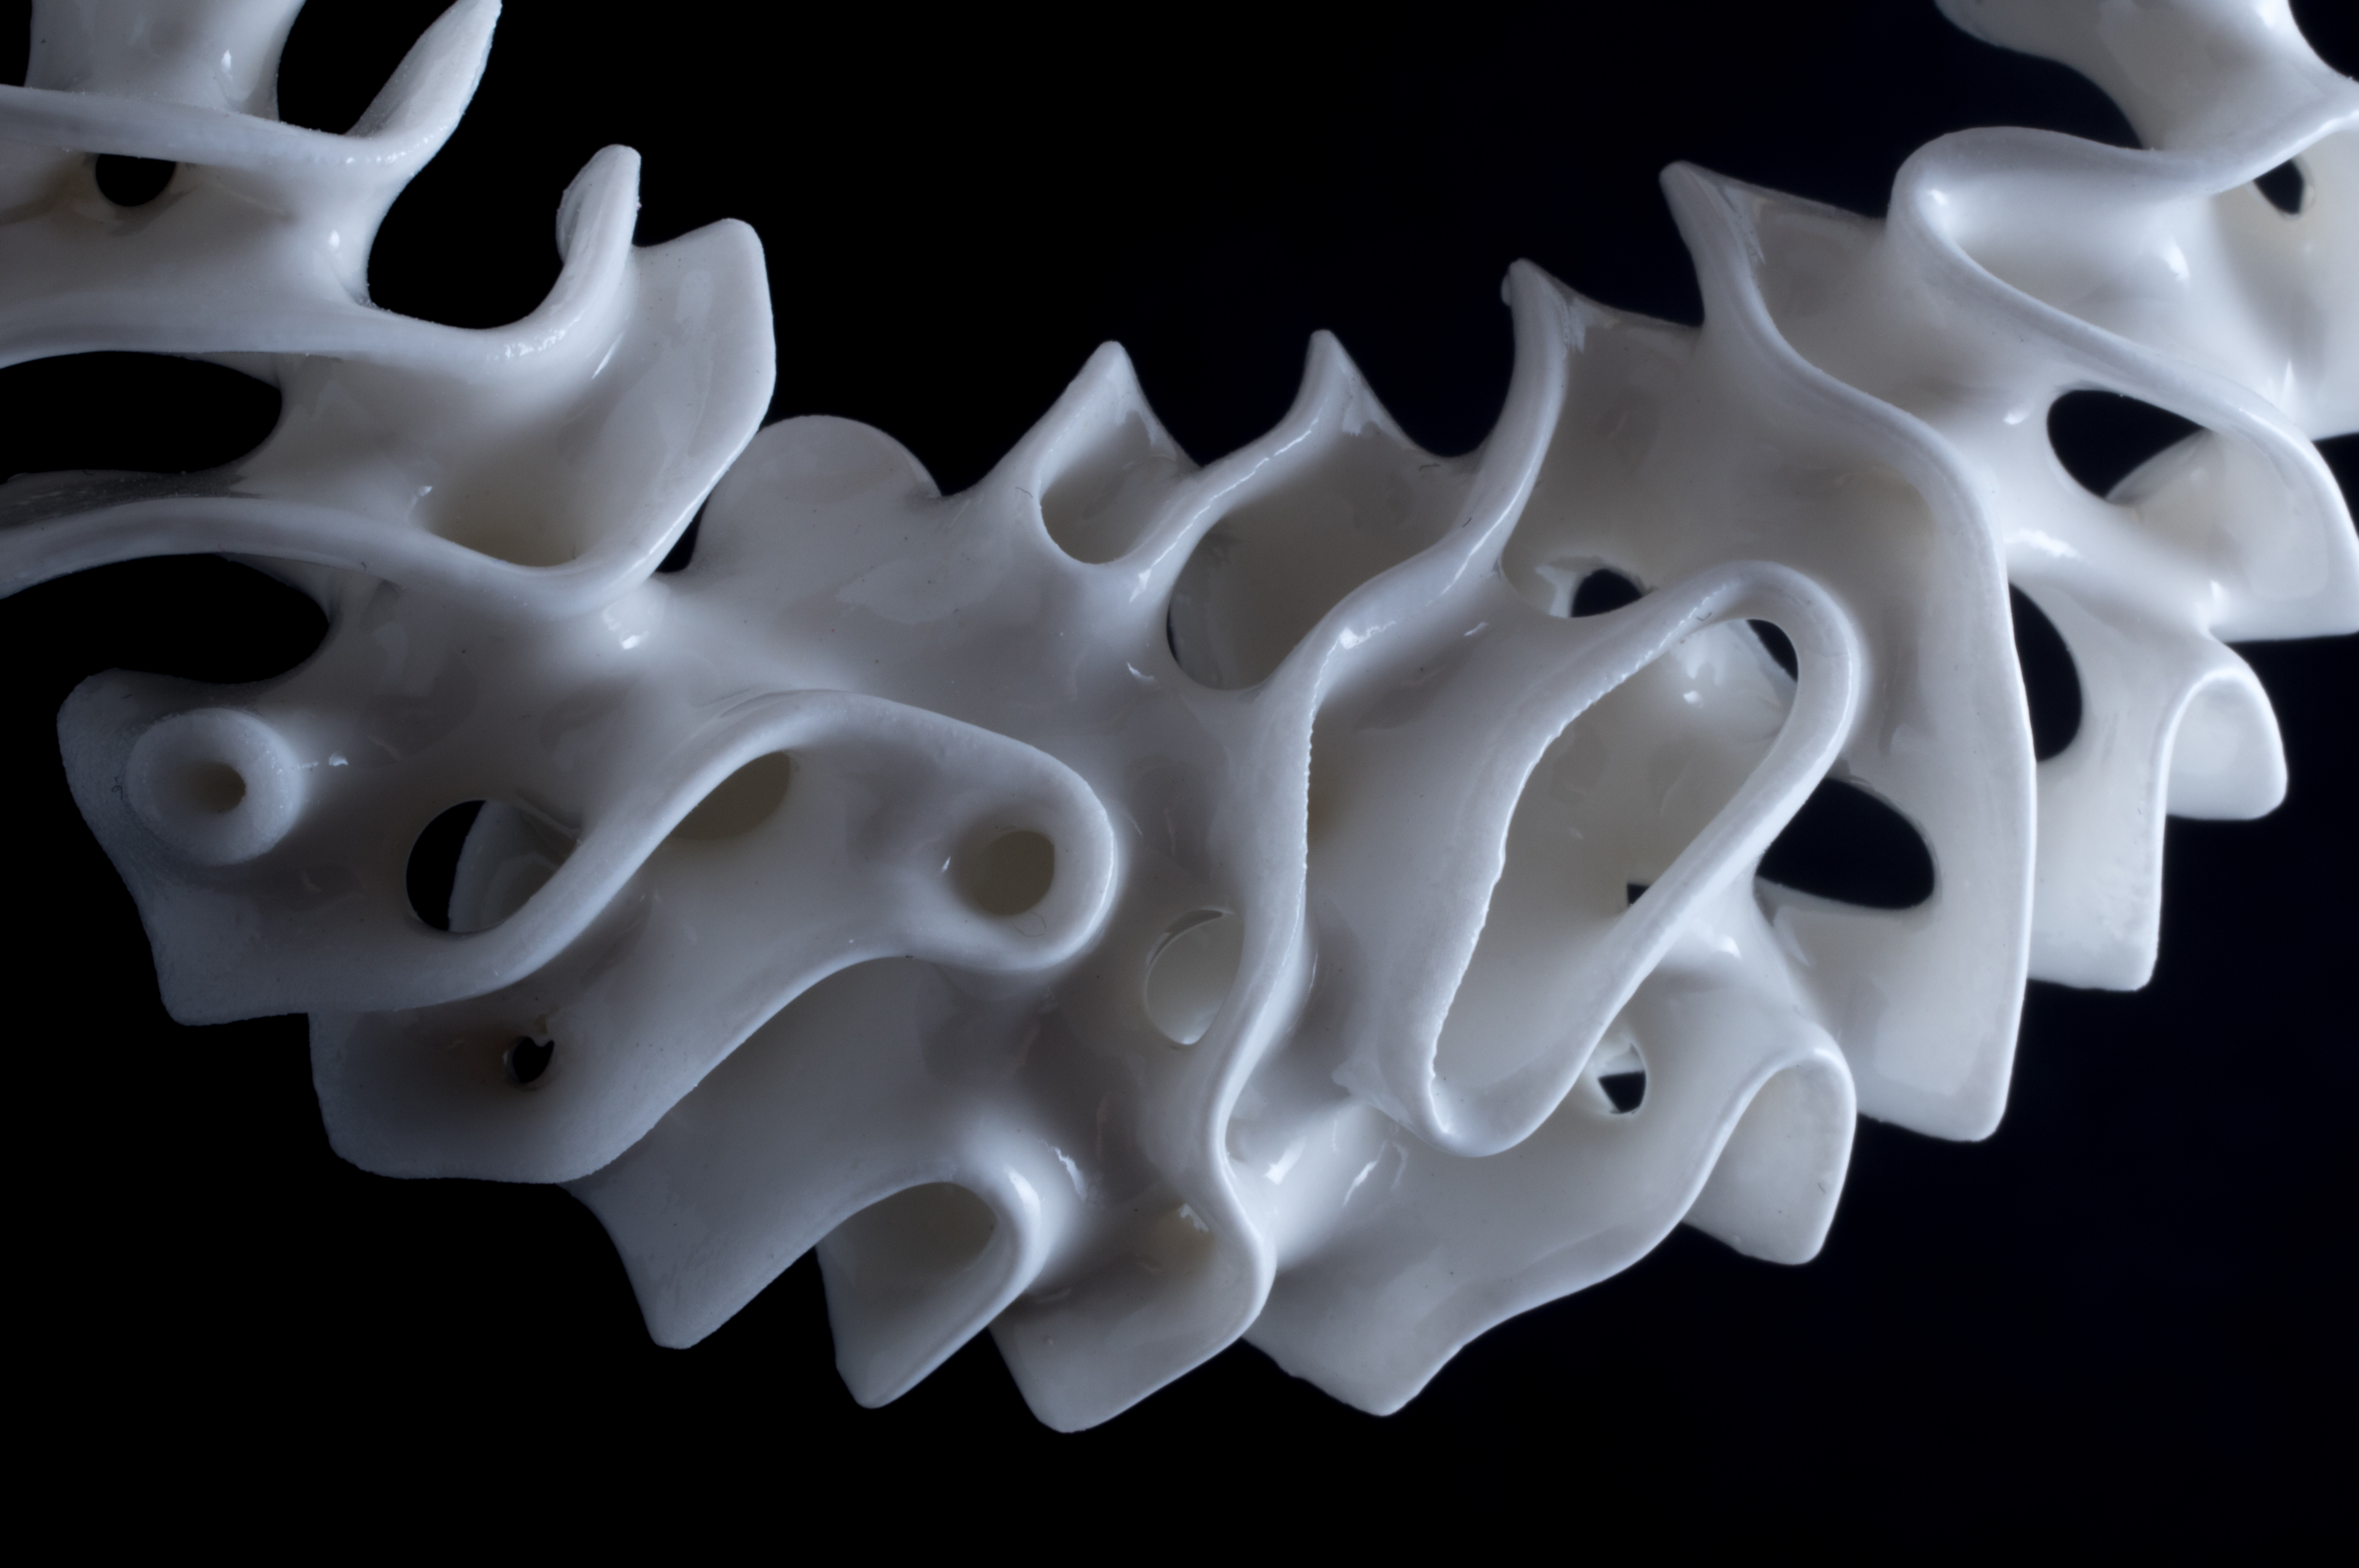
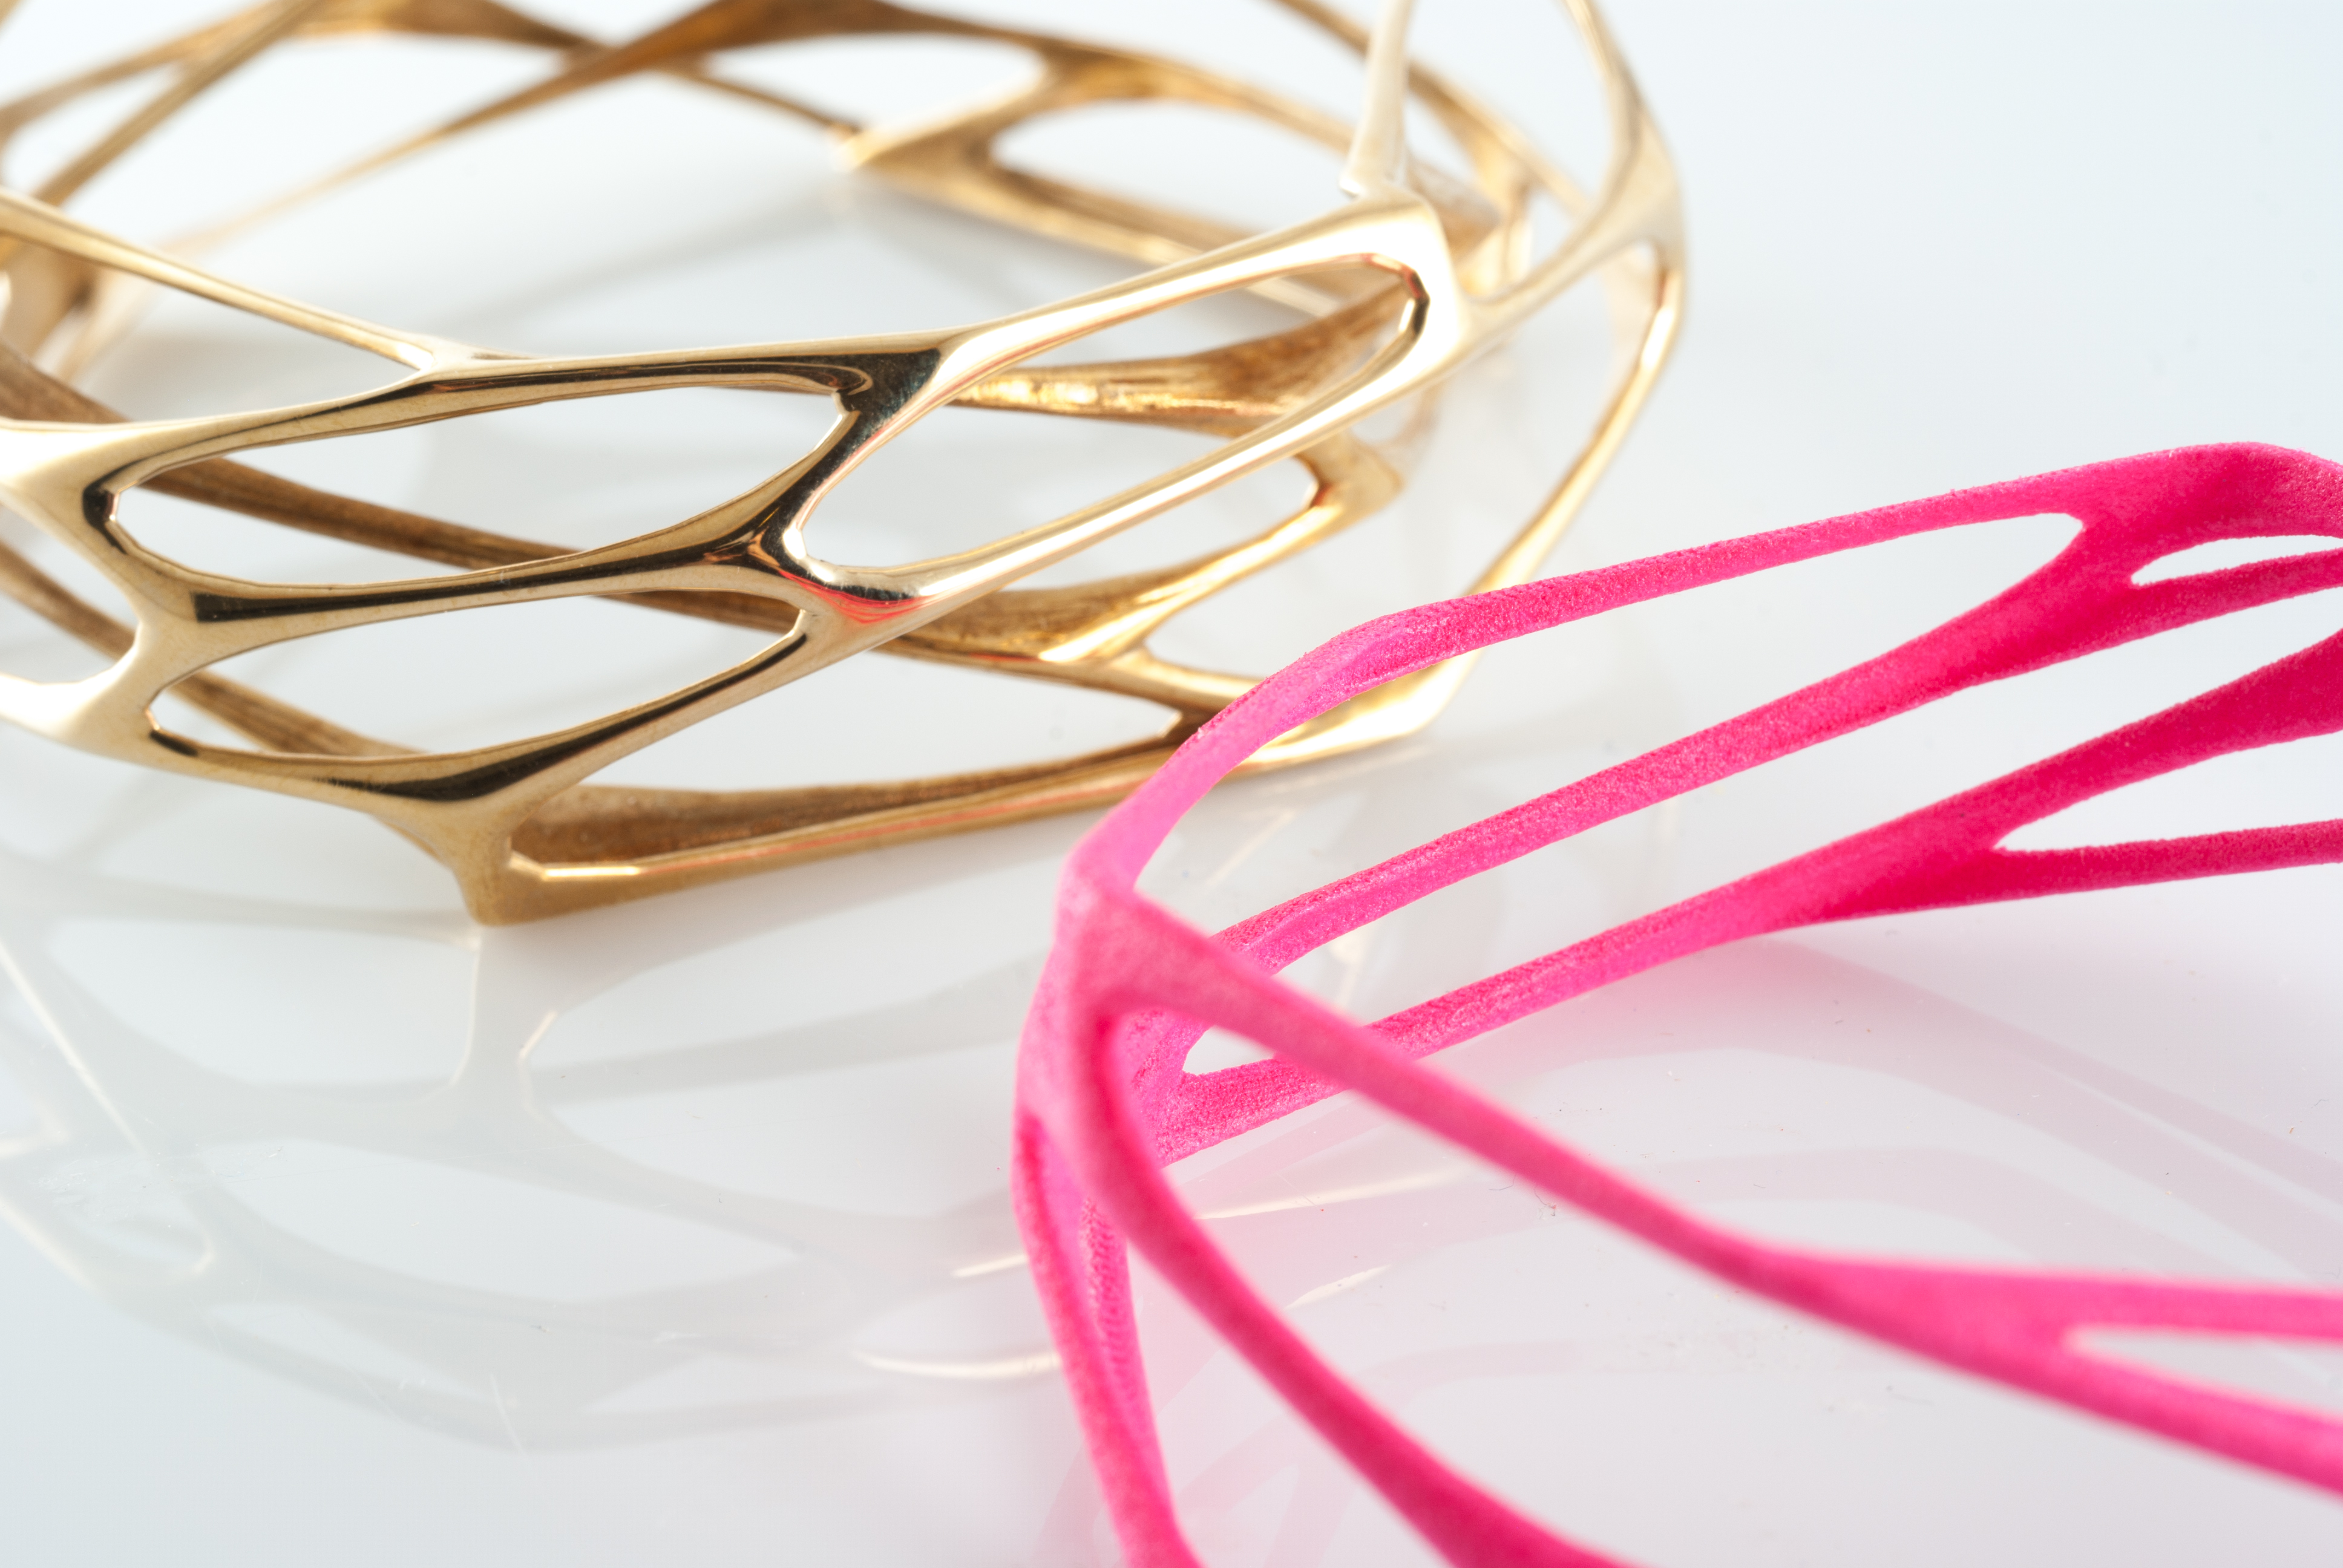
Corollaria also includes rubber jewelry designs, the first we’ve created since Nervous System began in 2007. The rubber pieces explore cellular structures at a larger scale. In contrast to the incredible intricacy of the brass pieces, the rubber necklaces and bracelets are dramatic pieces that blanket the body with bold organic motifs. This collection includes our first generative rubber jewelry design. Each Varallaria Necklace is one of a kind, emerging from a new shape and environment.
Shop the new collection and learn more about the algorithms and fabrication processes below.
Jewelry
Multiscale patterns


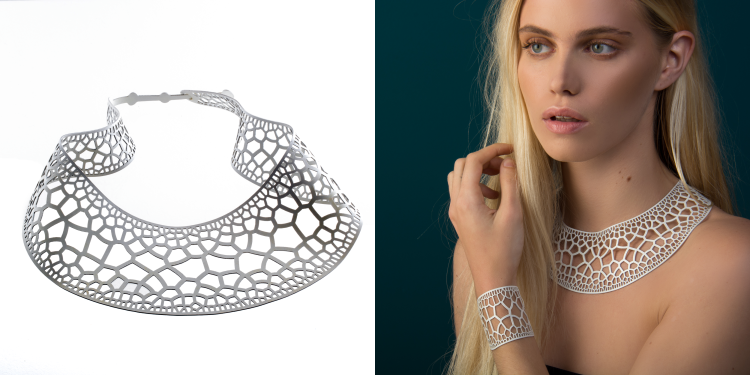
Pieces like the Locule necklace (left, $70, brass + oxidized brass) and Crenulate necklace (right, $65, rubber) explore multiscale patterns which suggest the organization of cells into higher level structures like tissues and organs.
Pods


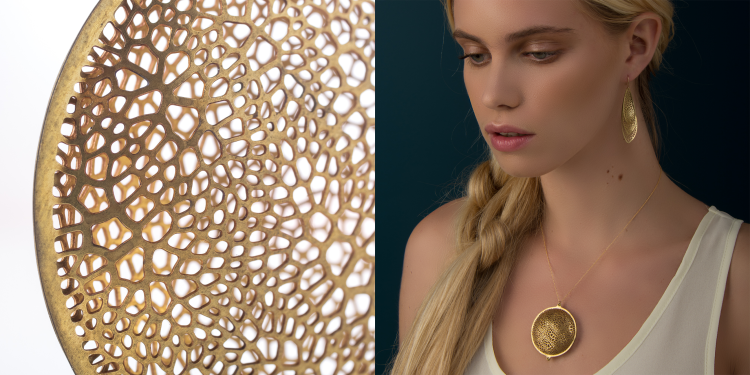
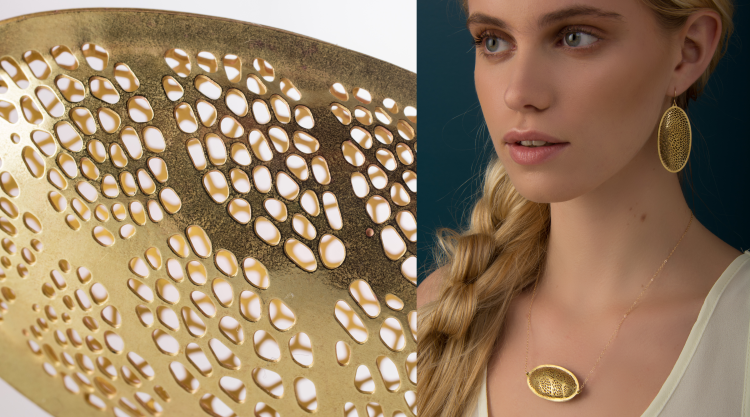
The collection includes a series of intricately perforated pods inspired by seeds and pollen. These pieces are made by riveting together two convex layers of etched brass to create a cage-like structure.
Corollaria pendant (left, $70) and Capsule Earrings (right, $55)
Edge based


Some pieces have interior structures which form in response to their shape. In the Chrysanthemum Pendant (right, $60), cells elongate parallel to the edge and become denser towards the center. The Large Calyx Pendant (left, $60) has the opposite directionality and change in cell size.


The Sinuate Necklace ($65) and Bracelet ($40) also feature an edge based design but one where the cells define their own shape.
Flower forms


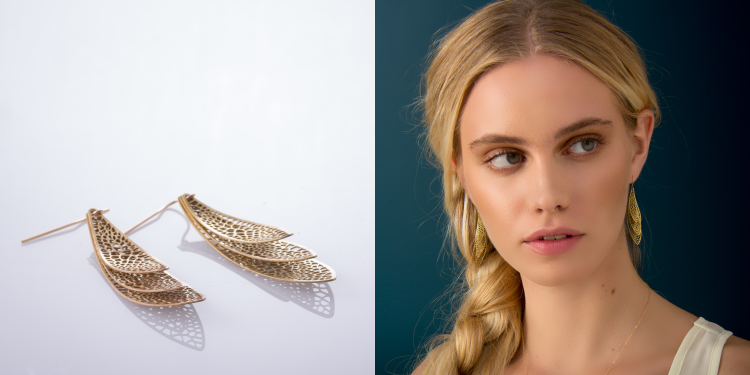
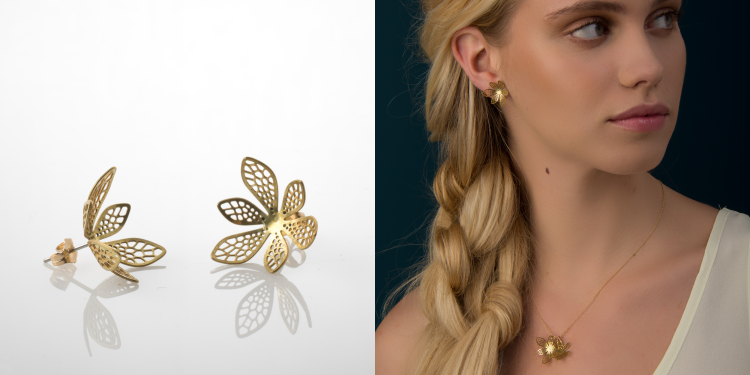
While Corollaria was originally inspired by cell structures, several of the pieces evoke the forms of flowers. As the brass is formed, the pieces curl inwards, creating convex shapes that suggest newly opened blossoms. Corolla Earrings (left, $35), Corolla Pendant (left, $55). Lacewing Earrings (right, $55)
Algorithms
Capacity-constrained Voronoi diagrams
The system behind Corollaria is based on Voronoi diagrams. I know, I know, Voronoi has become a bit of a trope within computational design, but we hope to have put our own touch on an old trick. To achieve the controlled, adaptive patterns of collection, we need a system that allows for that kind of adaptivity. We employ a generalized version of centroidal Voronoi diagrams (CVD) to control density and anisotropy. To unpack that a bit, a Voronoi diagram is a pattern of cells generated from a set of points. Each cell consists of all the space that is closer to one generating point than any other. A CVD is a pattern in which the generator of Voronoi cell is also the centroid of that cell. This can be viewed as a type of optimal distribution of points, which minimizes the distances from the center of the cell to its boundary, and mimics many cellular structures we see in nature [1]. This ensures all our cells are well shaped. CVDs are typically computed through an iterative procedure called Lloyd’s method, which moves each point to the centroid of its cell. However, this method does not preserve density and will, over the long term, converge to a hexagonal grid.
To control density, we use a technique called capacity-constrained Voronoi diagrams (CCVD) from Balzar [2]. This method provides an interesting take on Voronoi diagrams by modifying not the cells or points but the idea of space itself. The CCVD discretizes the notion of “space”, and instead of computing in normal Euclidean space, it uses a set of discrete points much denser than the Voronoi diagram to represent space. A Voronoi cell then becomes a set of these background points. The “capacity-constrained” portion refers to the constraint that each cell can only contain a fixed number of points. So we might say that each cell is made up of 100 background points. The more points we have, the smoother our discretized space becomes.
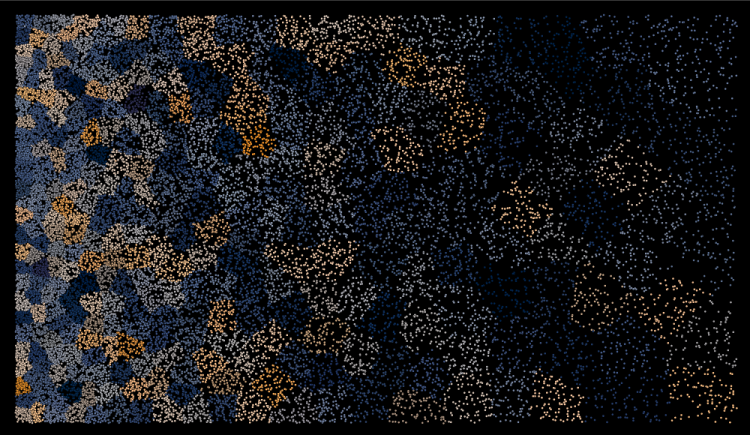
This sounds pretty convoluted, but what it does it does is allow us to encode the density of our pattern in the discretized background space. Instead of saying we want an individual cell smaller or larger, if we put more background points in one location, the cells in that area naturally get smaller. It also provides an easy way to enforce boundary conditions. Rather than needing to clip our cells by some boundary (either an image, curves, or function), to compute their centroids properly, our centroid is simply the average of all points making up a cell. It does not matter how we define our boundary as long our background points are inside it.
Anisotropy
On top of this capacity-constrained system, we add anisotropy. This allows us to control directionality in our patterns. We follow the approach of Li et al [3]. Essentially, we replace a Euclidean distance metric in our all our computations with an anisotropic approximation. Mathematically, that looks like the equation below, where $J$ is a matrix representing the Jacobian of how space is distorted.
$D_J(p_1,p_2) = \sqrt{(J(p_2-p_1))^\intercal(J(p_2-p_1))}$
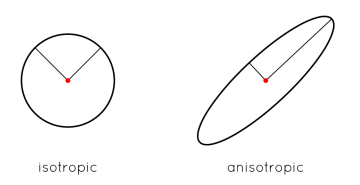
Geometrically, we can think of normal distance as a circle of radius one. That circle contains all the points a unit distance away from the center. Our anisotropic distance transforms that circle into an ellipse of arbitrary orientation. Every point on that ellipse is a unit distance from the center in our distorted space. How that ellipse is distorted then varies throughout space.
Extracting Curves for Fabrication
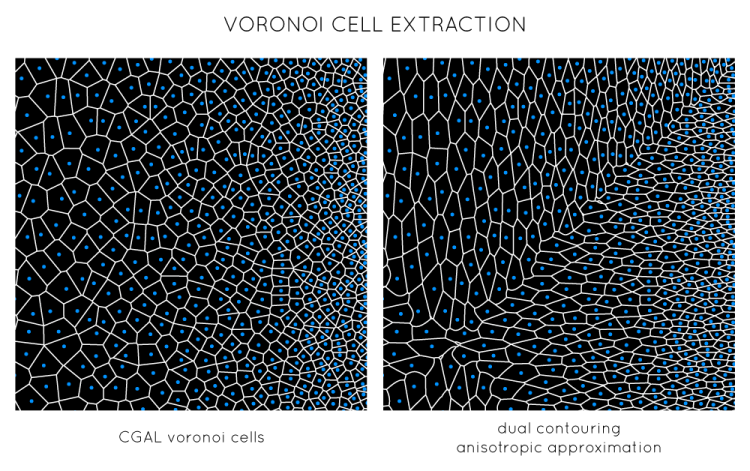
In addition to replacing all the distance computations in our CCVD computation with the anisotropic distance, we also use that distance to extract our Voronoi cells as curves. The downside to representing our cells as a discrete set of points is that it does not have a natural interpretation as a closed shape we can use for fabrication. We cannot simply use a normal Voronoi diagram of our generator points because that won’t give us the correct results for our distorted space. In fact, in the anisotropic case, the boundaries of our cells are not even straight lines.
Instead we make an approximation using a dual contouring approach. We represent space as a uniform grid. At each grid point, we assign the closest generator point as well as the distance to that point in anisotropic space. Then for each grid square that contains multiple cells, we interpolate an intersection point. Those points are then connected to form closed cells.
Libraries and Resources
Openframeworks
Eigen – for matrix computations
Clipper – offsets
OpenCV – distance transforms to control anisotropy based on images
special thanks to Michael Balzar for releasing the code for his paper “Capacity-Constrained Point Distributions: A Variant of Lloyd’s Method”
[1] Du et al, Centroidal Voronoi Tessellations: Applications and Algorithms, SIAM Review Volume 41 Issue 4, Dec. 1999
[2] Balzer et al, Capacity-Constrained Point Distributions: A Variant of Lloyd’s Method, ACM Transactions on Graphics 2009
[3] Li et al, Anisotropic Blue Noise Sampling, SIGGRAPH Asia 2010
Materials and fabrication
With this collection, we’ve added some new materials and fabrication techniques to our repertoire.
Formed Etched Brass
Lately our work has focused on 3D printing; but we love the fine detail and materiality we can achieve with photochemically etched metal. We wanted to explore how we could add more dimensionality to our previously flat metal designs. So, we bought a hydraulic press (yes, we’ve seen videos of people crushing random objects in a hydraulic press) to play around with forming pieces. We use brass instead of stainless steel, since it is a soft metal that forms easily.
Traditionally, you would form solid sheet stock, but forming a 3D shape and then cutting an intricate pattern in it would be very expensive, losing all the advantages of photochemical etching as a fabrication technique (it’s cut all at once by acid, so the amount of detail doesn’t affect the time it takes). However, forming metal with a bunch of variable holes can get a bit wonky, so we had to spend some time experimenting to figure out what worked. Our first pieces have been made using simple spherical formers and acrylic silhouette dies we make on our laser cutter. In the future, we want to make our own custom shapes for forming.
This collection had a longer incubation time than usual because we had to do many rounds of prototyping to figure out how to generate pieces that could be formed in a repeatable fashion and without breaking.
Gallery of forming failures


Lasercut Rubber
As with our Radiolaria collection, our Corollaria collection also features rubber jewelry. We’ve always wanted to make more designs for rubber because it is such a weird, cool material for jewelry; it’s bold and dramatic yet lightweight and comfortably molds to the body. We’ve never had a good way to manufacture these designs though, and having to outsource production to be waterjet or lasercut didn’t allow for flexibility in the design and made prototyping new designs slow and expensive.
We’re happy to say we are now making these pieces entirely in house. We tried laser cutting rubber in the past, but it would produce a 2” flame erupting off the piece as it cut. Not only did this affect the quality of the cut, leaving strangely white, charred edges, but it was way too scary. The key change is that this year we got a high pressure, coaxial air assist for our laser, which quickly removes any flammable gas as we cut. Now our rubber cuts cleanly. By producing the pieces in house, not only can we make them more inexpensively, but we can finally produce the one of a kind and customized pieces we love. The new collection includes the Varallaria Necklace. Each is one of a kind, emerging from a new shape and environment.


Acknowledgements
Mario Klingemann for naming the collection
Steve Marsel for model photography
Dianna Quagenti for makeup
Emily Rose for modelling


Sonal Sharma
Corollaria jewellery collection is really beautiful. I liked Pods and flower based Jewellery from all of them.
eyeonjewels
jewellery collection is really beautiful. I liked Pods and flower based Jewellery from all of them. Thanks to sharing this
Trophy for Automattic Design Award | Nervous System blog
[…] were 3D-printed using Selective Laser Sintering in white nylon. The structure was grown in our Corollaria software. Inspired by biological systems, Corollaria plays with adaptive patterns that respond to […]
Nervous System collaborates on new 3D-printed organ research published on cover of Science | Nervous System blog
[…] upon our Hyphae 3D software. The directional cellular vessels on the air sacs are related to our Corollaria software. However the way we grew the intertwining vessel networks that run parallel to the airway […]